Skip to raid guide
Slayora S logo
SLAYORA Rise. Fight. Conquer.

Wiki

The Fractured Archive

Raids IV on Slayora

Fight all eight bosses in order: Archive Guardian, Ezekiel, Bork, Moia, Dreadnoth, Dagon'hai, Xarth and Ocellus. Regroup in the nexus between encounters and visit the Quartermaster after Bork.

Slayora bosses have 100× base HP. Every additional player adds 25% of solo HP. Bring gear switches, coordinate your roles and use the table below to plan your raid.

Preparing for the Archive

Bring a strong crush weapon, a ranged switch and the spells needed across all eight encounters. Melee covers grounded targets; ranged handles distant or airborne bosses; magic provides elemental interrupts and control over adds.

  • Melee: Obligator, Scythe of Vitur, Inquisitor's mace or another strong crush option.
  • Ranged: Ascension crossbows, Twisted bow or a suitable crossbow; a Venator bow helps clear clustered adds.
  • Magic: elemental spells for the Dagon'hai; water or ice spells for Xarth's corpses.
  • Supplies: combat boosts, food, brews, restores, antipoison and runes for your assigned spells.

Decide who tanks, who handles adds and who brings each elemental spell. Finish your preparations before entering the next room.

Raid combat: all eight bosses take normal, uncapped player damage from every attack style. Boss defensive hit gates, resistances, phase reductions and per-hit caps are disabled. Their attacks, special moves and arena hazards still hit players.

Before you enter

Before your first run

  1. Use ::raids4, or The Fractured Archive under Minigames in the Nexus, to reach the entrance.
  2. Use the Grouping Board to create a party, apply to a group or review applicants. A leader must accept an application before that player joins.
  3. Gather everyone in the public lobby and mark yourselves Ready. The leader starts the raid with one to eight players; membership and health scaling are fixed for that run.
  4. Solo bosses have 50x their base HP. Every additional starting player adds 25% of that solo pool: two players use 62.5x base HP, three use 75x, and eight use 137.5x. The scale is locked when the run starts.
  5. Every run fights Archive Guardian, Ezekiel, Bork, Moia, Dreadnoth the Jellied, Dagon'hai Elder, Xarth and Ocellus, in that order. Regroup in the nexus between fights.
  6. The Quartermaster opens after the third boss clear, Bork. Spend your personal supply credits before continuing to Moia.
  7. A player who dies sits out the current fight and can rejoin after the team clears it. A full wipe ends the run. The run is not resumed after a server restart.
  8. Looting your personal chest returns you to the entrance with your existing party. Other members can still claim their own secured rewards. Regroup, ready up and let the leader start the next run.
  9. An unclaimed secured reward stays recoverable at the entrance. Practice encounters do not award completion loot or kill count.

Pack for the mechanics

Protection prayers

Be comfortable switching Protect from Melee, Protect from Missiles and Protect from Magic. Put these somewhere easy to click before entering. A damage prayer such as Piety or Zeal does not replace a protection prayer.

Ranged setup

Bring a ranged weapon, enough ammunition or charges, and gear you can switch into quickly. Ranged lets you keep attacking while maintaining space. Normal melee cannot reach the flying Guardian or phase-one Xarth.

Spell coverage

Arrange standard Fire spells for the Guardian, Earth for inert guardians and Ezekiel, Air for Flying Swords, and Water or Ice for Xarth's corpses. One player does not need to cover every job. Any preferred spell can damage the Guardian.

Healing and restores

Bring food, healing potions, Prayer restoration and any normal combat boosts your setup uses. Take a way to cure poison for Guardian spores. Check your ammunition, runes and weapon charges; the Quartermaster comes only after the third boss clear.

Useful add damage

Area spells or a bouncing weapon can help with zombies and jellies. These are useful tools, not entry requirements. Keep one accurate boss-damage option, because charging helpers alone does not satisfy the raid's boss-contribution check.

New to raiding? Learn these eight words
Tick
One game step, about 0.6 seconds. A two-tick warning is short: react to the marker instead of finishing another attack.
Tank
The player deliberately holding a boss's attention. This is a positioning job, not a separate character class.
Adds
Smaller enemies, such as zombies, jellies or corpses. Some must be killed immediately even while the boss is alive.
AoE / area attack
A hit that covers several tiles. Moving one tile may still leave you inside its danger area.
Kite
Attack from a distance, move before the enemy reaches you, then attack again. Keep your next safe tile in mind.
Cleave
A melee swing that can hit several players near the boss's front. Do not stand beside the tank unless your role requires it.
Enrage
A more dangerous part of a fight, usually near low HP. Expect a new pattern or faster attacks, not just a different colour.
Cover
A pillar or cart must be between the attacker and you. Being next to it on the attacker's side does not count.

Set your roles

A team plan you can actually remember

Make a simple plan before the pull. These are jobs your group agrees on; the game does not assign permanent classes.

Leader / caller
Create the party, enter doors, wait for everyone and make short calls: 'move two', 'cart cover', 'melee then range'. One clear voice is easier to follow than five different instructions.
Tank
Enter Ezekiel first through the transporter. On other bosses, check who the boss actually targets. Keep position predictable and announce a death or target change.
Special-target helper
Charge the Guardian's inert guardians and Ezekiel's swords. Know which spell and side of the target to use. Also hit a real boss during the raid to qualify as a contributor.
Add control
Clear dangerous jellies, stop Xarth's corpses and help break Ocellus vines. Do the urgent mechanic before returning to boss damage.
Damage / backup
Damage the current focus target while watching your own prayers and floor. Be ready to take over a sword, corpse or vine if the assigned player is occupied.

Adjust the jobs to your group

Two players

Combine jobs. Agree who tanks Ezekiel and who charges the sword; both players help clear jellies and corpses. At Ocellus, the free player must immediately break their partner's vine.

Three to five players

One caller can also tank. Give one player swords and one player add control, with everyone else helping damage. Name a backup so one missed mechanic does not stop the run.

Six to eight players

Use two helpers where targets multiply. Leave shared movement lanes and avoid covering escape routes with oil, blood or flames. Extra players help only when they have space to dodge.

Solo learning

Use the solo 50x base HP scale and handle every helper job. Prepare for Ocellus's vine expiry when no teammate can free you. The same eight-boss route applies to solo and team runs.

Small habits, fewer wipes

  • Call a direction before moving a tank through the team.
  • Move first when a floor warning appears; attack again once you are safe.
  • Restore Prayer before it empties, especially around Dreadnoth's jellies.
  • Do not follow another player blindly: their destination may be your next hazard.
  • After a clear, stop, heal, check charges and regroup at the next door.
  • Make sure every player damages a boss at least once and remains in the raid for its final completion.

Raid order

Every run follows all eight encounters below. After Bork, clear 3, spend your 50 personal Supply Credits before continuing to Moia.

  1. 1Archive Guardian
  2. 2Ezekiel
  3. 3Bork and the Smorks
  4. 4Moia
  5. 5Dreadnoth the Jellied
  6. 6Dagon'hai Trio
  7. 7Xarth
  8. 8Ocellus

Slayora HP scaling

Solo HP = base HP x 50. Each player after the first adds 25% of that solo pool. Eight players therefore use 137.5x base HP. The scale is locked when the run starts.

1 player · 100% of solo HP · 100× base HP

Boss health for your party
EncounterSolo HPYour party's HP
Archive Guardian27,50027,500
Ezekiel75,00075,000
Bork75,00075,000
The Smorks30,00030,000
Moia39,25039,250
Dreadnoth the Jellied105,000105,000
Dagon'hai trio32,00032,000
Xarth230,000230,000
Ocellus · Phase 1125,000125,000
Ocellus · Phase 3262,500262,500

Party HP = solo HP × (1 + 0.25 × additional players)

Full route and health reference

Follow the open door

The full route

Every clear has eight fights: Guardian, Ezekiel, Bork, Moia, Dreadnoth, Dagon'hai Elder, Xarth and Ocellus. The supply break comes after Bork, the third clear.

  1. 01Archive Guardian
  2. 02Ezekiel
  3. 03Bork and the Smorks
  4. 04Moia
  5. 05Dreadnoth the Jellied
  6. 06Dagon'hai Elder and Monks
  7. 07Xarth
  8. 08Ocellus
How does boss health scale?

The solo HP multiplier is 100x. Add 25% of the solo pool for every additional starting player, up to eight players. Core, shield, phase and helper pools use the same health rule.

HP = floor(base HP x 100 x (1 + 0.25 x (starting players - 1))). Scale is fixed when the raid starts; leaving or disconnecting does not lower it.

HP examples by starting party size
Boss / poolSolo2 players4 players8 players
Guardian core27,50068,75096,250151,250
Ezekiel75,000375,000262,500825,000
Dreadnoth105,000262,500367,500577,500
Ocellus phase 1125,000312,500437,500687,500
Ocellus pursuit262,500656,250918,7501,443,750

Bosses and their mechanics

Open an encounter to view its phases, gear and key mechanics.

Archive GuardianEncounter 01 / 08 Break the airborne shield, punish the grounded boss, then share its finishing beam.
Solo HP
27,500
Defence
260
Crush defence
20
Attack interval
5 ticks
Size
5×5
Fire weakness in flight
80%
Fire weakness grounded
40%

Flying shield

  1. Use ranged, magic or a halberd while the Guardian hovers. Depleting its shield forces it to land.
  2. Watch for ranged projectiles and avoid spawning mushrooms. Spores poison players and can slow attacks and prevent running.
  3. A mushroom can be triggered safely by approaching beside it and moving two tiles away immediately.
  4. Charge accessible inert guardians around the arena to help break the shield. Some require ranged attacks; the remaining guardian can be struck by the boss's beam.

Grounded damage

  1. Switch to a crush weapon when it lands; this damages the main health bar.
  2. Tendrils start after six ticks and then appear every three ticks. Each attacks a 3×3 area three times.
  3. Tendrils appear beyond the player, on the side away from the boss. Moving toward the boss can avoid the initial strike and keep the room usable.
  4. Coordinate movement with teammates and use Protect from Melee against tendril damage.

Final 30%

  1. The Guardian flies again and stays airborne without renewing its shield.
  2. It alternates mushroom hazards with a beam aimed at a marked player. Line up with the target to divide the beam damage.
  3. Protect from Magic reduces part of the beam damage. High-level tick eating is possible, but a coordinated shared beam is the main team response.
  4. Position the marked line through an inert guardian where possible to damage the boss.

Bring: Twisted bow or a heavy crossbow in flight; Scythe, Inquisitor's mace or Abyssal bludgeon when grounded. Any preferred combat style can damage the Guardian.

Remember: A solo tanked beam can be lethal at team scales. Keep the targeted player and line visible.

Full Slayora walkthrough and team roles

Encounter guide 01 / 08

Archive Guardian

Break the flying shield, damage the grounded boss, and keep moving away from mushrooms and tendrils.

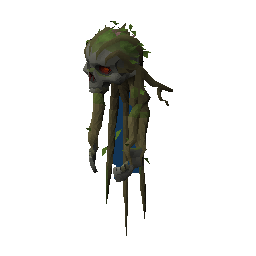
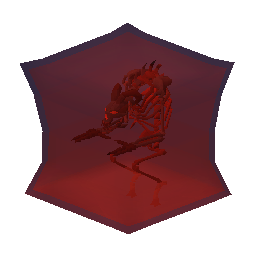
Archive Guardian rendered from the game model
Your attacks
Heavy ranged or standard Fire magic while flying; a halberd also reaches. Ordinary melee works when grounded. Crush is its weakest melee defence. Any preferred spell can damage this boss.
Your prayers
Protect from Missiles while flying. Protect from Melee reduces grounded tendril mistakes, but you still need to dodge.
Solo HP
27,500 core and a separate 50,000 flying shield.

First thing to do: Start attacking the flying shield from a clear tile. The ordinary ranged attack hits everyone, so standing behind the boss does not protect you.

Flying shield

  1. Use Ranged or standard Fire magic; ordinary melee cannot reach the flying Guardian. Charge the inert guardians with the appropriate attacks and guide the laser through its battery.
  2. The core HP overlay and the flying shield are separate pools. Dodge spores and the laser, and share the beam only when your group has called it.

Grounded and final flight

  1. Attack the core while the shield is down and avoid the tendril warnings.
  2. At 30% core health the Guardian returns to permanent unshielded flight. Continue with Ranged or Magic while dodging spores and the laser.

See this → do this

Flying shield
Use Ranged or standard Fire magic; ordinary melee cannot reach the flying Guardian. Charge the inert guardians with the appropriate attacks and guide the laser through its battery.
Grounded and final flight
Attack the core while the shield is down and avoid the tendril warnings.

Play it as a team

  • Assign one or two players to charge inert guardians while the others damage the shield. Helpers should also hit the actual boss during the run.
  • Keep movement lanes clear. During tendrils, move in the same agreed direction so players do not collide with another tendril.
  • Choose one laser caller. Do not stack except when deliberately sharing the beam.
Common beginner mistakes
  • Standing still through a floor or projectile warning.
  • Continuing boss damage instead of handling the urgent mechanic.
  • Skipping supplies or entering the next fight before the team is ready.

Slayora rule: Some positioning, timing and damage details remain local test tuning; this guide does not claim exact OSRS combat parity.

EzekielEncounter 02 / 08 Keep the tank in melee range, send charged swords through the boss, and read the lightning pattern.
Solo HP
75,000
Defence
130
Crush defence
35
Attack interval
5 ticks
Size
3×3
Earth weakness
25%

Tank and cleave

  1. The first entrant becomes the tank until death. The tank uses Protect from Melee and stays close.
  2. Ezekiel cleaves most adjacent tiles. Teammates attack from directly behind him, opposite the tank, or step away for his swing.
  3. If the tank leaves melee range, Ezekiel punishes the entire party with lightning.

Swords and lightning

  1. Every two melee attacks are followed by a cross-shaped lightning strike that pulses twice.
  2. Three or four swords then charge before flying in straight lines. Avoid their paths.
  3. Attack a sword to increase its damage; air spells are especially effective. Strengthening one also increases the damage it deals to players.
  4. Lure Ezekiel completely into a sword's path to hurt and briefly stun him. Missing every sword lets him recover a large amount of health.
  5. Perfectly timed dodges of swords and lightning grant 3% special attack energy each.

Final third

  1. At roughly one third health the fight compresses into a 3×3 area.
  2. Read the three sword indicators: the back-row tile aligned with the sword that receives no lightning is safe.
  3. Middle and left lit means move right; middle and right lit means move left; the two outer swords lit means use the back row.
  4. Three patterns arrive in succession. Wait a tick after the final indicator before the timed dodge, then resume damage.
  5. Use damage special attacks while perfect dodges and Lightbearer restore energy.

Bring: Crush melee and a damage special weapon. Bring an air spell if the team plans to strengthen swords.

Remember: The tank must keep the boss lined up with a sword while the party stays out of its path.

Full Slayora walkthrough and team roles

Encounter guide 02 / 08

Ezekiel

Send the tank through first, stay opposite them, dodge lightning and aim a charged sword into the boss.

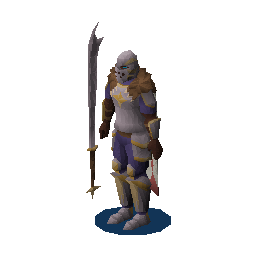
Ezekiel rendered from the game model
Your attacks
Use any preferred combat style on Ezekiel and the Flying Swords; raid bosses take normal, uncapped damage from every style.
Your prayers
Protect from Melee for ordinary cleaves. Lightning, moving swords and the final floor patterns must be dodged; prayer does not make their tiles safe.
Solo HP
75,000.

First thing to do: Gather in the waiting area, choose a tank, then use the Archive transporter. The first player who finishes crossing becomes the tank. Other players follow after that person is ready.

Cleave and swords

  1. The first entrant tanks. Other players stand directly behind Ezekiel, opposite the tank. If he cannot reach the tank, everyone takes a lightning attack.
  2. After two cleaves, dodge the two bursts of his lightning cross. Hit the swords to charge their yellow bars; they launch when their red timers fill.
  3. Line up a sword exactly with Ezekiel. A successful hit interrupts his healing and stuns him. Air magic is useful against swords.

Final third

  1. At one-third health, move into the central 3 x 3 space and read the three lightning patterns. Watch which sword is not struck and move to its safe back-row tiles.
  2. Dodge each of the three volleys, then resume attacking.
  3. A tick-perfect lightning or sword dodge restores 3% special attack energy. Teleporting does not count as a dodge.

See this → do this

Cleave and swords
The first entrant tanks. Other players stand directly behind Ezekiel, opposite the tank. If he cannot reach the tank, everyone takes a lightning attack.
Final third
At one-third health, move into the central 3 x 3 space and read the three lightning patterns. Watch which sword is not struck and move to its safe back-row tiles.

Play it as a team

  • Agree the tank before anyone uses the transporter. The tank's movements should be small and announced.
  • Assign a confident Air-magic player to a sword and give them a clear outer charging position. Name one backup.
  • Call 'lightning, move two' and 'charged, lane clear'. Every player still watches their own final-phase tile.
Common beginner mistakes
  • Standing still through a floor or projectile warning.
  • Continuing boss damage instead of handling the urgent mechanic.
  • Skipping supplies or entering the next fight before the team is ready.

Slayora rule: The current finale uses a 3 x 3 lightning pattern. Unpublished sword charge rates, warning timings and damage remain under review.

Bork and the SmorksEncounter 03 / 08 Use the cannon against Bork, shelter behind the cart, then finish the enraged Smorks.
Bork solo HP
75,000
Smorks solo HP
30,000
Bork defence
300
Smorks defence
220
Attack interval
7 ticks
Bork crush defence
10
Bork earth weakness
40%
Smorks earth weakness
85%

Control Bork

  1. The first entrant initially tanks Bork, but his shout announces later target changes. Keep his target close enough to control the wider drum shockwave.
  2. The stationary Smorks fire bones for ranged damage and potion clusters for magic at players who are not tanking Bork. Switch protection prayers to match.
  3. Move off incendiary cannonball shadows and oil. Oil deals repeated damage and causes burns.
  4. Bork starts with eight flat armour, gaining two more for every quarter of the Smorks' health removed. Focus Bork first to avoid increasing his armour early.

Heavy cannonball

  1. When the Smorks warn Bork, lure him onto the heavy cannonball's target.
  2. A successful hit stuns him briefly and creates a clear attack window. Use it to deal damage while watching for his next attack.
  3. The party moves out after the target shadow appears. Afterward, hide on the opposite side of the Smorks' cart to block arena-wide stomps.
  4. If the cannonball misses, the stomps still happen. Keep the cart between the party and Bork.

Enrage

  1. The pair attack faster as health falls.
  2. Kill Bork first. The surviving Smorks speed up and attack everyone, requiring coordinated ranged / magic protection.
  3. Killing the Smorks first instead leaves an enraged Bork with stomps across the arena.

Bring: Strong single-hit melee or heavy ranged against armoured Bork; burst melee damage while stunned. Fast weapons become more useful once the Smorks' Defence is reduced.

Remember: An early Smorks focus raises Bork's flat armour and lengthens the harder part of the fight.

Full Slayora walkthrough and team roles

Encounter guide 03 / 08

Bork and the Smorks

Kill Bork first, keep oil off your escape route and put the Smorks' cart between you and the big slam.

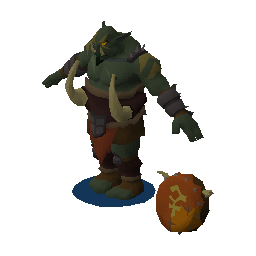
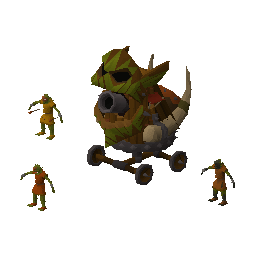
Bork and the Smorks rendered from the game modelThe Smorks in their cart
Your attacks
Use your effective damage setup. Focus Bork first so the Smorks' cart remains available as cover.
Your prayers
The tank uses Protect from Melee for Bork's ordinary close hits. The Smorks throw bones for Ranged: use Protect from Missiles. A cluster of potions means Magic: use Protect from Magic. Cover and movement are still essential.
Solo HP
75,000 Bork and 30,000 Smorks; both must die.

First thing to do: Choose who tanks Bork. Everyone else watches Smorks and the heavy cannonball landing.

Two targets

  1. One player holds Bork while others watch Smorks. Smorks attacks the players other than the Bork tank when possible.
  2. Bork's armour increases as Smorks loses health. Magic suffers a smaller flat reduction; stunning Bork removes his armour.
  3. When the heavy ball marks its landing, lure Bork underneath it and move clear. Do not stand still and take the ball.

Last survivor

  1. Use the stationary cart as cover for Bork's ground attacks.
  2. Both Bork and Smorks must be defeated; the survivor becomes more dangerous.

See this → do this

Two targets
One player holds Bork while others watch Smorks. Smorks attacks the players other than the Bork tank when possible.
Last survivor
Use the stationary cart as cover for Bork's ground attacks.

What does “behind the cart” mean?

The cart must block the line between Bork and you.

Bork
Bork
The Smorks' cart
Cart
Your team

Bork → cart → you. The cart gives cover.

A schematic of the cover rule. Check the actual line and oil tiles in game.

Play it as a team

  • Call Bork as the first kill target. The tank chooses a position with an easy cart-cover escape route.
  • One caller watches the heavyball warning and says 'cart cover'. Check the line, not merely how close you are to the cart.
  • Place oil away from the shared escape route. After Bork dies, finish the Smorks together while watching individual projectiles.
Common beginner mistakes
  • Standing still through a floor or projectile warning.
  • Continuing boss damage instead of handling the urgent mechanic.
  • Skipping supplies or entering the next fight before the team is ready.

Slayora rule: Lure Bork under the heavy cannonball to stun him. Exact aggression timing and oil interactions still need further testing.

Supply break · after clear 03

Stop. Shop. Regroup.

After Bork, the third boss clear, each eligible player receives 50 personal Supply Credits for the Quartermaster break.

  1. Talk to the Quartermaster before the group enters the next room. Use the More supplies option to browse every page.
  2. Buy Prayer restoration and food first, then the boosts you use. Prices are per individual item, and the listed stock is personal.
  3. Keep an inventory slot free for purchases. If your inventory cannot receive the item or it is unavailable, no credits are spent.
  4. Credits and remaining stock last for this raid only. The supply window closes when the group moves on and does not refill.
  5. The Alliance log is available as an item, but its campfire or fuel effect is not implemented.
Personal stock · 50 credits to spend
SupplyStockCredits each
Saradomin brew(4)64
Super restore(4)43
Prayer potion(4)42
Prayer potion(2)11
Ranging potion(2)12
Super combat potion(2)13
Manta ray101
Halibut51
Giant krill101
Alliance log11

Before the leader moves on

  • Pause together and ask every player to finish shopping before progressing.
  • Plan the remaining roles: tanks and corpse-control players should check their Prayer restoration, food and spell supplies.
MoiaEncounter 04 / 08 Manage moving binders, react to projectile impact order, and clear every add during enrage.
Solo HP
39,250
Defence
195
Crush defence
15
Attack interval
5 ticks
Size
3×3
Air weakness
80%

Binders and projectiles

  1. Moia stands beyond melee and halberd reach; use ranged or magic.
  2. Undead binders begin evenly spaced, leaving one opening. They shuffle and attack players within two tiles, so keep an escape lane open.
  3. Kill binders to create room, while expecting them to respawn.
  4. Most attacks are fast ranged projectiles. After teleporting, Moia can send a slow blue magic projectile followed by a faster ranged shot.
  5. Keep Protect from Missiles active until the later ranged projectile has landed, then switch to Protect from Magic for the slower first projectile.

Cough

  1. A smoke projectile infects one player with a damaging cough.
  2. The infected player separates from teammates and binders to prevent spreading it.
  3. A Serpentine helm reduces cough damage.

Final 33%

  1. Moia arranges binders in a diamond and starts charging an arena-wide attack.
  2. Kill every binder before the charge completes. Any survivors cause severe party-wide damage.
  3. Repeat the add clear whenever a fresh set appears while continuing damage to Moia.

Bring: Venator bow excels against binders that cluster during a shuffle or enrage. Bring a separate strong ranged or air-magic option for Moia.

Remember: Pray for the order attacks land, not the order they are launched.

Full Slayora walkthrough and team roles

Encounter guide 04 / 08

Moia

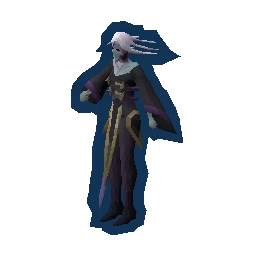
Attack Moia from a distance, switch prayer for her blue magic attack, and keep clear of the walking zombies.

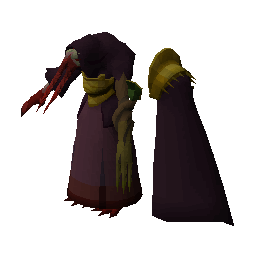
Moia rendered from the game model
Your attacks
Ranged or Magic lets you keep attacking from a safe distance. Bring an area or bounce attack to clear zombies that block your movement.
Your prayers
Protect from Missiles for the normal attacks; Protect from Magic for the blue follow-up. Zombies attack with Melee if you stand beside them.
Solo HP
39,250.

First thing to do: Find a clear tile with a line to Moia outside the central zombie ring. Turn on Protect from Missiles before attacking.

Binders and mixed attacks

  1. Use Ranged or Magic to reach Moia. Her binders can be attacked with melee from two tiles away.
  2. Moia launches slow Magic and faster Ranged shots. Read their arrival order and switch prayers.
  3. Keep space when a cough appears so it does not spread through nearby players and binders.

Final third

  1. Below one-third health, clear the binders before Moia completes her charge. Leaving binders alive causes a powerful attack.
  2. If all binders are cleared, prepare for the next set rather than standing still.

See this → do this

Binders and mixed attacks
Use Ranged or Magic to reach Moia. Her binders can be attacked with melee from two tiles away.
Final third
Below one-third health, clear the binders before Moia completes her charge. Leaving binders alive causes a powerful attack.

Play it as a team

  • Choose one prayer caller who says range, blue or mage, and back to range. Every player still needs to watch their own projectile.
  • Assign one or two players with area or bounce damage to clear dangerous zombies; the rest maintain damage on Moia.
  • Keep a shared escape route clear. Avoid sending the whole team after one zombie through another walking lane.
Common beginner mistakes
  • Standing still through a floor or projectile warning.
  • Continuing boss damage instead of handling the urgent mechanic.
  • Skipping supplies or entering the next fight before the team is ready.

Slayora rule: Keep space for coughs and clear the enrage binders. Some attack damage and charge timings remain under review.

Dreadnoth the JelliedEncounter 05 / 08 Keep distance, swap prayers for slams and shots, and remove prayer-draining jellies immediately.
Solo HP
105,000
Defence
125
Crush defence
5
Attack interval
4 ticks
Size
5×5
Fire weakness
85%
Freeze resistance
40%

Kite and control

  1. Dreadnoth moves slowly and hits nearby players with melee. Ranged or fire magic can damage him from a safer distance.
  2. Freezes or Scorching bow's rooting special help maintain space.
  3. Avoid jelly pools: they deal repeated damage while stood on.

85%, 65% and 45% slams

  1. Use Protect from Melee for the arena-wide slam, then Protect from Missiles for three follow-up shots.
  2. Later thresholds increase the number of consecutive slams, up to three.
  3. Small jellies spawn and drain prayer even when their attacks are protected. Clear them promptly with barrage spells or Venator bow.
  4. A coordinated team stack can group jellies for area attacks, but move away from the ground hazards they leave.

Final 25%

  1. Dreadnoth starts leaping onto random players. Move off the landing tile while using Protect from Melee; the unprotected slam can hit players elsewhere too.
  2. A successful landing on a player heals him. He also absorbs surviving jellies if he lands on them.
  3. After landing he sends a ranged attack and a jelly splatter. Switch prayer and keep moving.
  4. Defeating Dreadnoth releases a final group of about ten jellies. Kill these to finish the room.

Bring: Ranged or fire magic, plus Ice / Blood Barrage or Venator bow for adds. Demonbane works, though its benefit is lower than on some other demons.

Remember: Leaving adds alive drains prayer and gives the enraged boss another source of healing.

Full Slayora walkthrough and team roles

Encounter guide 05 / 08

Dreadnoth the Jellied

Keep moving away from Dreadnoth, swap prayers for slams and ranged shots, and kill the jellies before they drain your Prayer.

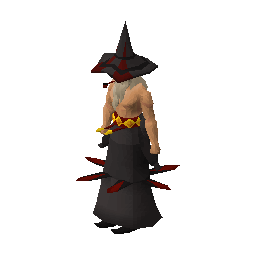
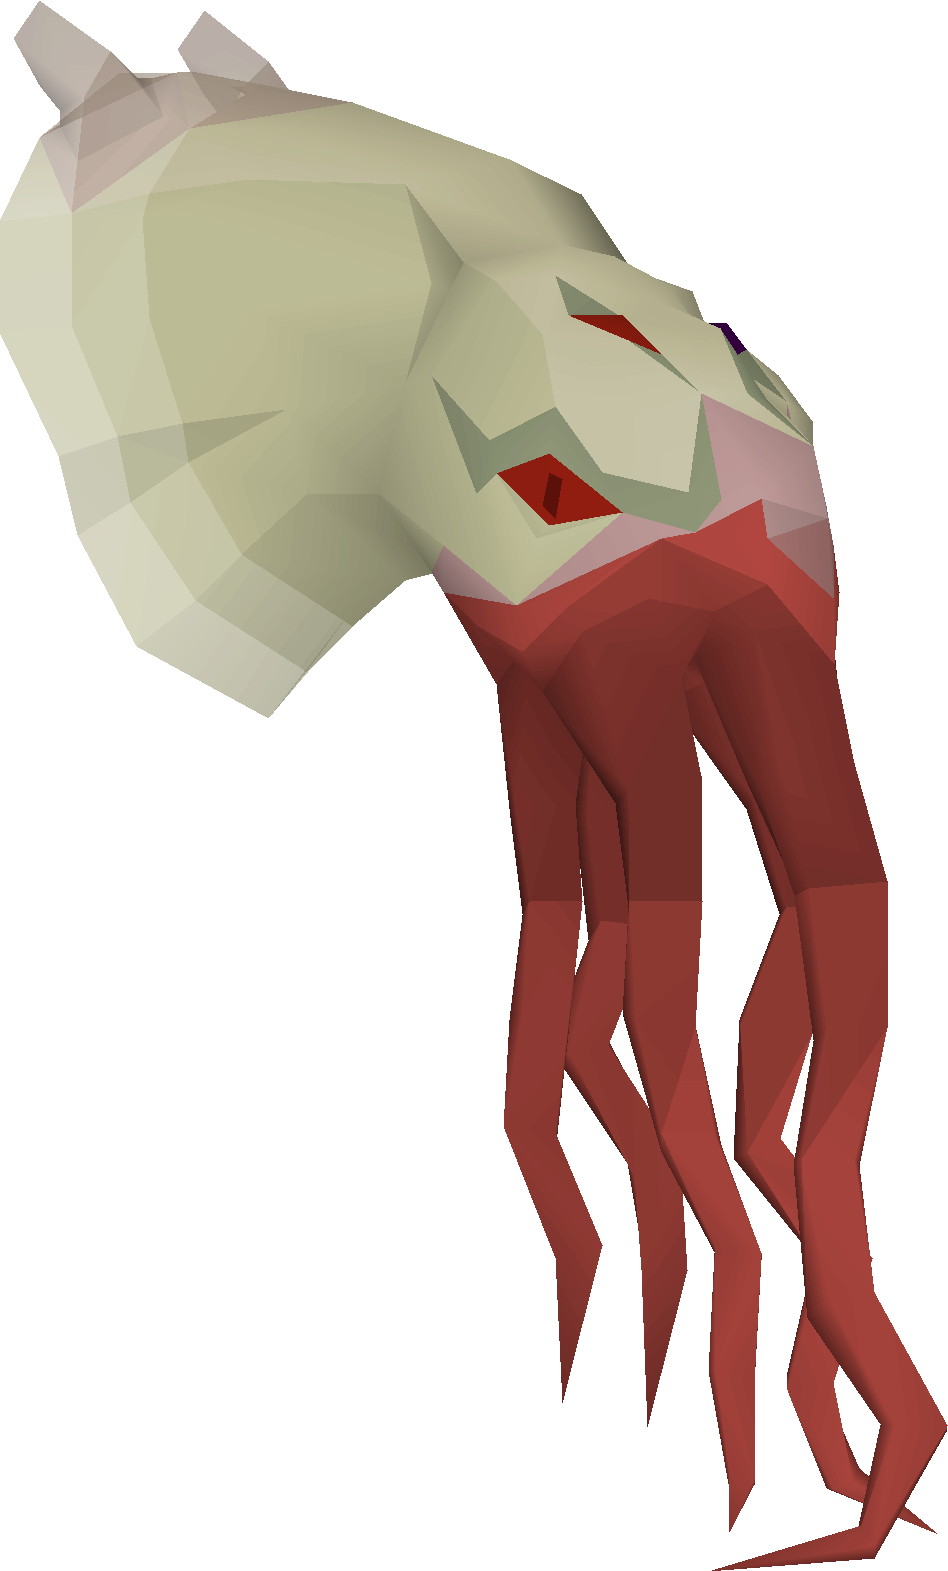
Dreadnoth the Jellied rendered from the game model
Your attacks
Ranged or Magic makes kiting easier. Kiting means attacking from a distance, moving before the boss reaches you, then attacking again. Ice and area attacks help control the boss and adds.
Your prayers
Protect from Melee for slams and nearby jellies; Protect from Missiles for the ranged shots after each slam. Blood damage requires movement.
Solo HP
105,000.

First thing to do: Attack from a distance and keep a clean route around the room. Freezes work, but their duration is reduced by about 40%, so refresh them when needed.

Jellied thresholds

  1. Use Fire magic and freezing to control Dreadnoth. He moves one tile every two ticks and can hit every nearby player with melee.
  2. At 85%,65% and 45% health, prepare for the jelly sequences. Watch the slams and ranged attacks and keep Prayer restored.

Enrage and aftermath

  1. Below 25%, move away from his leaps and keep living jellies away from the landing: he can absorb them to heal.
  2. After Dreadnoth dies, kill the remaining jellies to finish the encounter.

See this → do this

Jellied thresholds
Use Fire magic and freezing to control Dreadnoth. He moves one tile every two ticks and can hit every nearby player with melee.
Enrage and aftermath
Below 25%, move away from his leaps and keep living jellies away from the landing: he can absorb them to heal.

Play it as a team

  • Assign a caller to count the slam packages and one or two area-damage players to prioritize jellies.
  • Use one agreed kite direction so the boss is not dragged through another player's cleanup position.
  • Gather jellies in a clean area if the team can move together, but leave the stack immediately when a leap targets it.
Common beginner mistakes
  • Standing still through a floor or projectile warning.
  • Continuing boss damage instead of handling the urgent mechanic.
  • Skipping supplies or entering the next fight before the team is ready.

Slayora rule: The 85/65/45 thresholds and separate 25% enrage follow current observations. Some landing damage and timings remain local tuning.

Dagon'hai TrioEncounter 06 / 08 Interrupt matching elemental channels, intercept ritual energy and break the shared shield five times.
Shared solo HP
32,000
Defence
100

Elder and monks share their health / shield gauge.

Position and damage

  1. Spread apart: the elder targets one player but his ranged and magic projectiles also hit nearby teammates.
  2. Grey projectiles are ranged; surge spells are magic. Protection is checked when they hit.
  3. All three enemies share a health pool, so assign nearby targets and interrupts instead of chasing a single mage.
  4. The cauldron gains 25% ritual progress for each successful channel. A full ritual empowers the trio and is likely to wipe the party.

Elemental interrupts

  1. A flames call requires a fire spell; flow requires water; winds requires air; bond requires earth.
  2. Cast the matching element on the mage who is channeling before its yellow progress bar fills.
  3. Bring sufficient magic accuracy: the interrupt can splash, so a nominal cast alone does not guarantee success.

Tome energy

  1. When a monk discovers a tome, stand on the marked gust path to intercept its energy before it feeds the cauldron.
  2. Bandos energy deals a large hit to the interceptor and sends a shockwave outward. Teammates must avoid the expanding wave.
  3. Zamorak energy deals damage, causes a burn and throws fireballs across a 7×7 area. Move away from the impact tiles.
  4. Saradomin energy heals the interceptor and produces lightning. Avoid damaging blue strikes; yellow strikes restore health and prayer.

Five shield breaks

  1. Emptying the shared shield lowers ritual stability by 20% before the shield refills.
  2. Each break spawns two portals with three imps each. Standing on a portal closes it; attack the imps and protect against melee as needed.
  3. Hits against imps connect and roll maximum damage; killing one empowers the next attack.
  4. After the fifth break the cauldron explodes, one monk dies and the remaining two enemies can be finished quickly.

Bring: A standard spellbook with all four elemental spells, adequate magic accuracy and clear interrupt assignments.

Remember: Ritual prevention takes priority over damage. A team without all four elements cannot reliably control the room.

Full Slayora walkthrough and team roles

Encounter guide 06 / 08

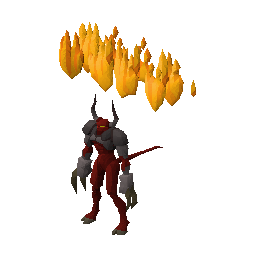
Dagon'hai Elder and Monks

Interrupt elemental research, break the shared shield five times, then defeat the exposed survivors.

The Dagon'hai Elder, one of the three enemies
Your attacks
Use your strongest reliable damage style. Once the shield breaks, follow one kill target so the group removes an attacker quickly.
Your prayers
Read the Elder's Magic and Ranged projectiles and avoid standing beside another target. At full ritual charge, all three enemies become dangerous.
Solo HP
32,000 shared shield per shield cycle; five breaks expose the surviving elder and monks, each with a 32,000 HP pool.

First thing to do: Watch the Elder's attacks, bring elemental coverage and call channels for interruption.

Research and shared shield

  1. The Elder attacks while the Monks research. Space out because the Elder's attack also hits adjacent teammates.
  2. Interrupt an elemental channel with a successful matching Air, Water, Earth or Fire spell. Uninterrupted channels advance the ritual.
  3. At 100% ritual the trio empowers and all begin attacking. Break the shared shield five times to destabilise the ritual.
  4. When a monk finds a tome, use the marked gusts to intercept it. Bandos can hit the blocker for up to 55 and sends a wave out to 8 tiles; other players move away. Zamorak hits for about 25 and creates fireballs in a 7 x 7 area. Saradomin heals the blocker; yellow lightning restores health and Prayer.

Portals and exposed survivors

  1. Stand on a portal to close it and clear the imps that emerge. Attacks against imps always land at maximum damage.
  2. After the fifth shield break the cauldron kills one Monk. The Elder and remaining Monk each have 7 HP; finish the exposed survivors.

See this → do this

Research and shared shield
The Elder attacks while the Monks research. Space out because the Elder's attack also hits adjacent teammates.
Portals and exposed survivors
Stand on a portal to close it and clear the imps that emerge. Attacks against imps always land at maximum damage.

Play it as a team

  • Assign a ranged tank to stand closest to the ranged-attacking Monk with Protect from Missiles.
  • Assign a magic tank to stand closest to the Elder and Magic Monk with Protect from Magic.
  • Everyone else stays farther from those enemies than their assigned tank. These positions control nearest-player targeting.
  • Call one focus target after the shield breaks. Avoid splitting damage evenly across three individual health bars when removing one attacker would make the room safer.
Common beginner mistakes
  • Standing still through a floor or projectile warning.
  • Continuing boss damage instead of handling the urgent mechanic.
  • Skipping supplies or entering the next fight before the team is ready.

Slayora rule: Use the correct element to interrupt research, break the shared shield five times and intercept the god-tome attacks before finishing the exposed survivors.

XarthEncounter 07 / 08 Share each pillar safely, then freeze or douse corpses before they can heal the boss.
Solo HP
230,000
Defence
170
Crush defence
20
Attack interval
4 ticks
Size
3×3
Water weakness
85%

Pillars: first half

  1. Xarth uses magic and stacking burns. Use Protect from Magic and avoid unnecessary damage.
  2. At approximately 80%, 65% and 50% health he binds the party and fires searing projectiles before a charged blast.
  3. As the projectiles launch, the entire team takes the same route behind the same pillar.
  4. Poor positioning can destroy more than one pillar at once, leaving no cover for later blasts.

Corpses: final half

  1. At half health Xarth remains in the centre, switches to melee and ranged attacks, and scatters burning ground.
  2. Corpses approach from the arena edges. Any that reach him restore their remaining HP to the boss.
  3. Freeze corpses or hit them with water spells to douse them, then finish them quickly. Water and ice spells have a rapid casting interaction against these adds.
  4. Avoid fire spells: they cause additional corpses to spawn.
  5. Corpse spawns accelerate as the boss weakens; assign multiple add controllers where possible.
  6. If corpses restore a total of 200 HP, Xarth releases a heavy arena-wide blast with a burn. Grouping behind the front player reduces its impact.

Bring: Crush melee and demonbane are effective against Xarth; bring water / ice magic for corpse control.

Remember: Keep damage on the boss while dedicated players stop every corpse. Losing control can reverse progress quickly.

Full Slayora walkthrough and team roles

Encounter guide 07 / 08

Xarth

Share pillar cover first, then dodge flames and stop walking corpses from reaching Xarth and healing him.

Xarth rendered from the game model
Your attacks
Use Ranged or Magic in phase one; Any preferred combat style can damage Xarth. Bring Water or Ice spells for corpses.
Your prayers
Use Protect from Magic in the pillar phase and move away from burns. In phase two, protect Melee near the boss and Ranged against group shots; the special blast still needs positioning.
Solo HP
230,000.

First thing to do: Stand behind one shared pillar, with Xarth, the pillar and you in a line.

Pillars

  1. Use the pillars and move away from area warnings. Ordinary melee cannot reach the first phase.
  2. Coordinate movement so the tank keeps Xarth's attacks predictable.
  3. At 80%,65% and 50% HP, prepare for the pillar attack. The final pillar sequence leads into the static second phase.

Corpses

  1. Stop corpses before they reach Xarth: he heals from their remaining health. Water and Ice attacks are useful.
  2. After absorbing enough corpse healing, Xarth releases a blast. Line up behind the tank to share or reduce the danger.

See this → do this

Pillars
Use the pillars and move away from area warnings. Ordinary melee cannot reach the first phase.
Corpses
Stop corpses before they reach Xarth: he heals from their remaining health. Water and Ice attacks are useful.

Play it as a team

  • Assign a pillar caller, tank and corpse-control players. Larger teams need more corpse control.
  • The caller chooses one shared pillar at a time. The tank keeps phase-two positioning predictable and leaves a clear space behind them.
  • Corpse-control players prioritize adds over boss damage. Everyone helps if a corpse is about to reach Xarth.
Common beginner mistakes
  • Standing still through a floor or projectile warning.
  • Continuing boss damage instead of handling the urgent mechanic.
  • Skipping supplies or entering the next fight before the team is ready.

Slayora rule: Published base statistics are used. The pillar layout, corpse timing and blast reduction still need further comparison.

OcellusEncounter 08 / 08 Deny tendril energy, navigate portals, survive the collapsing arena and finish the last quadrant.
Phase 1 solo HP
125,000
Phase 3 solo HP
262,500
Phase 1 defence
215
Phase 3 defence
250
Phase 1 attack interval
5 ticks
Phase 3 attack interval
6 ticks
Size
3×3

Phase 1: tendrils

  1. Ocellus visits the room's corners, firing orange ranged and blue magic projectiles. Match protection to the projectile.
  2. He protects against melee while travelling. Once stationary, he creates seven energy tendrils pointing toward himself.
  3. Stand on the tendrils to reduce the energy reaching him. Expect chip damage and a heal after leaving the final tendril.
  4. After the seventh tendril, move beyond the two-tile slam radius.
  5. At 66% and 25% shield he moves to the centre and repeats four sets of two tendrils followed by a slam, rotating clockwise.
  6. Blocking enough tendrils weakens the ensuing charged attack. Leaving too much energy unblocked can produce over 80 damage; a successfully weakened attack is much smaller.
  7. Scorching bow can root this demonic target, reducing movement between corners.

Phase 2: The Blade and portals

  1. When the shield breaks, four portal quadrants appear. Purple lines are dangerous; stand where the two orange portal lines intersect.
  2. Attack The Blade while watching the portal pattern.
  3. When floor pools appear, find the orange ground portal and step into it to reach the next safe quadrant before the barrage.
  4. Repeat around the arena. Half of the damage stored in The Blade is applied to Ocellus's next health phase, rewarding sustained damage while moving safely.

Phase 3: collapsing quadrants

  1. The floor breaks into four connected sections. The tank starts with the second player in party-orb order and changes as quadrants are lost or the current tank dies.
  2. The tank stays within melee reach. If Ocellus cannot reach the target, he fires a dangerous spreading void attack at the party.
  3. At each new section, everyone except the tank stacks on an agreed corner tile to place persistent void pools together.
  4. His regular cycle is two melee swings, then a directional wave. After two waves he charges a spinning blade attack: turn off overheads during the charge and reactivate Protect from Melee before the release.
  5. Free a teammate trapped by a Void Vine; its victim cannot break it alone.
  6. Kill Void Rifts, Augmenters and Siphons before they charge. Their killer receives benefits; ignored objects damage the party.
  7. A sequence of large directional waves leaves temporary dangerous ground. Sidestep each wave and avoid the debris.
  8. For the airborne room-wide attack, shelter beneath the boss inside the purple boundary, then step out on the final bright pulse before his landing slam.
  9. When a quadrant begins its destruction charge, cross the stepping stones immediately. Remaining behind is fatal.
  10. Use censers for melee / ranged boosts, special energy, or health and prayer.

Phase 4: final quadrant

  1. The final phase alternates between standing away from the boss and standing close to him.
  2. When he rises with Deflect Melee, the ground beneath and immediately around him becomes unsafe. Use a ranged option from safe ground and destroy newly charged rifts.
  3. A blue wind attack removes half your current HP. Collect the light-blue orb on safe ground to recover that damage.
  4. Six personal void explosions follow your location. Keep moving; each marker damages its tile on the following tick. These personal markers do not threaten other players.
  5. During the explosion sequence Ocellus takes reduced damage. Precisely timed close dodges can speed up the next attack.
  6. After landing he uses Soul Split and a whole-quadrant attack. A saw under the boss signals melee, void arrows signal ranged, and radiating purple energy signals magic. Use the matching prayer.
  7. When Deflect Range appears, nearly the whole quadrant becomes unsafe: move beneath or immediately beside Ocellus and use melee.
  8. Collect the healing orb, keep moving through the next explosion sequence, and correctly pray the next whole-room attack. Repeat until he falls.

Bring: Ranged for travel and airborne windows, crush melee for The Blade and close combat, a damage special weapon and coordinated add control.

Remember: Agree pool placement and the next crossing before the fight. Destroying a quadrant kills any player who has not crossed in time.

Full Slayora walkthrough and team roles

Encounter guide 08 / 08

Ocellus

Ocellus tests prayer switches, movement and teamwork across four phases. Prioritize prayers, safe floors, trapped teammates and charging rifts over extra damage.

Ocellus rendered from the game model
Your attacks
Keep Ranged or Magic ready while Ocellus is airborne. In the final phase use Ranged/Magic when the inner floor is dangerous, and Melee/Magic when only the inner floor is safe.
Your prayers
Orange shots mean Protect from Missiles; blue shots mean Protect from Magic. Later, protect against the exact style announced during Soul Split. Prayers cannot replace movement out of floor hazards.
Solo HP
125,000 in phase 1. Half the absorbed Blade damage carries into the 262,500 pursuit pool; phase 4 continues the remaining pool.

First thing to do: Choose a caller and a player to handle vines. Keep Ranged or Magic available for airborne attacks. Keep prayers and healing accessible.

Shield and tendrils

  1. Cover tendrils to stop them charging Ocellus's attack. You take small hits while covering them and recover the damage after stepping off the last tendril.
  2. At 66% and 25% he moves to the centre and repeats tendrils around the arena. Watch the following projectiles.

The Blade

  1. Survive four portal quadrants. Stand at the orange intersection, then walk onto the orange portal: it automatically moves you before the quadrant becomes unsafe.
  2. Damage is absorbed during this phase; half is carried into the next health pool. This is not a normal killable HP bar.

Pursuit

  1. The second player in orb order tanks first, then the following player in each new quadrant. Other players place their starting pools together away from movement lanes.
  2. Dodge waves, re-enable prayer after the charged blade, break teammates' Void Vines and destroy charging adds. A trapped player cannot damage their own vine.
  3. On Untether, stand under Ocellus, then step out after the final warning. On Obliteration, jump out of the marked quadrant.

Final quadrant

  1. When the floor under and beside Ocellus is dangerous, stay away. When the outer floor becomes dangerous, move close.
  2. A soul fragment removes half your current HP. Walk into your own blue orb to recover it.
  3. Keep moving through six private explosions. Watch Soul Split's attack style and use the correct protection prayer. The boss takes half damage during the explosion sequence.

See this → do this

Shield and tendrils
Cover tendrils to stop them feeding Ocellus and move away from his body before the following blast.
The Blade
Survive four portal quadrants. Stand at the orange intersection and take the orange portal before the quadrant becomes unsafe.
Pursuit
The second player in orb order tanks first, then the following player in each new quadrant. Other players place their starting pools together away from movement lanes.
Final quadrant
When the floor under and beside Ocellus is dangerous, stay away. When the outer floor becomes dangerous, move close.

Final phase: away, then close

The floor reverses. Read the floor around the boss's whole body.

Stay outside the boss and its one-tile border. Use Ranged or Magic.

Safe Danger · Illustration only; follow the actual floor in game.

Play it as a team

  • Call prayer changes clearly and free rooted teammates before a collapse.
  • Split attention between boss damage and charging rifts; survival takes priority.
  • Assign a vine rescuer and a backup before starting. Keep healthy players ready to help when the named player is trapped.
  • For the last phase, call away, orb and move, prayer check, close, orb and move, prayer check. Each player must still watch their own explosion warnings.
Common beginner mistakes
  • Standing still through a floor or projectile warning.
  • Continuing boss damage instead of handling the urgent mechanic.
  • Skipping supplies or entering the next fight before the team is ready.

Slayora rule: The phase sequence and key interactions have been updated. Exact portal and special-attack timings, add buffs and some visual effects still need further testing.

After Ocellus

Your rewards after Ocellus

Every eligible player receives a secured personal chest after the full eight-boss clear. Ordinary loot is always present; a unique reward or Orion makes your chest purple.

  1. Qualify by belonging to the completed raid group and dealing real boss damage. Charging helpers or only killing optional adds is not enough.
  2. Each personal chest contains three ordinary loot rolls from runes and noted resources. Ordinary rolls can repeat and combine into a larger stack. These Slayora weights are configured locally; the OSRS source quantities do not establish exact OSRS weights.
  3. Archivist's folio is an additional common 1/3 teleport roll. It does not make a chest purple.
  4. Each eligible player has one unique roll per completed raid. The listed individual chances are exact personal chances, not chances after another hidden unique roll. At most one listed equipment item or fragment is selected from that roll.
  5. Orion has its own separate personal 1/1000 roll and can appear alongside an equipment unique or fragment. A unique or pet makes your personal chest purple; ordinary loot alone does not.
  6. Empty weapon variants are delivered uncharged. A full inventory leaves your secured reward pending; make space and claim it without rerolling.
  7. After a successful claim you return to the entrance with your party retained. Party members still inside keep their own chest. Wait for everyone, ready up and start another run together.
  8. Opening again, relogging, reconnecting or using the entrance recovery chest never rolls a new reward or pays it twice.
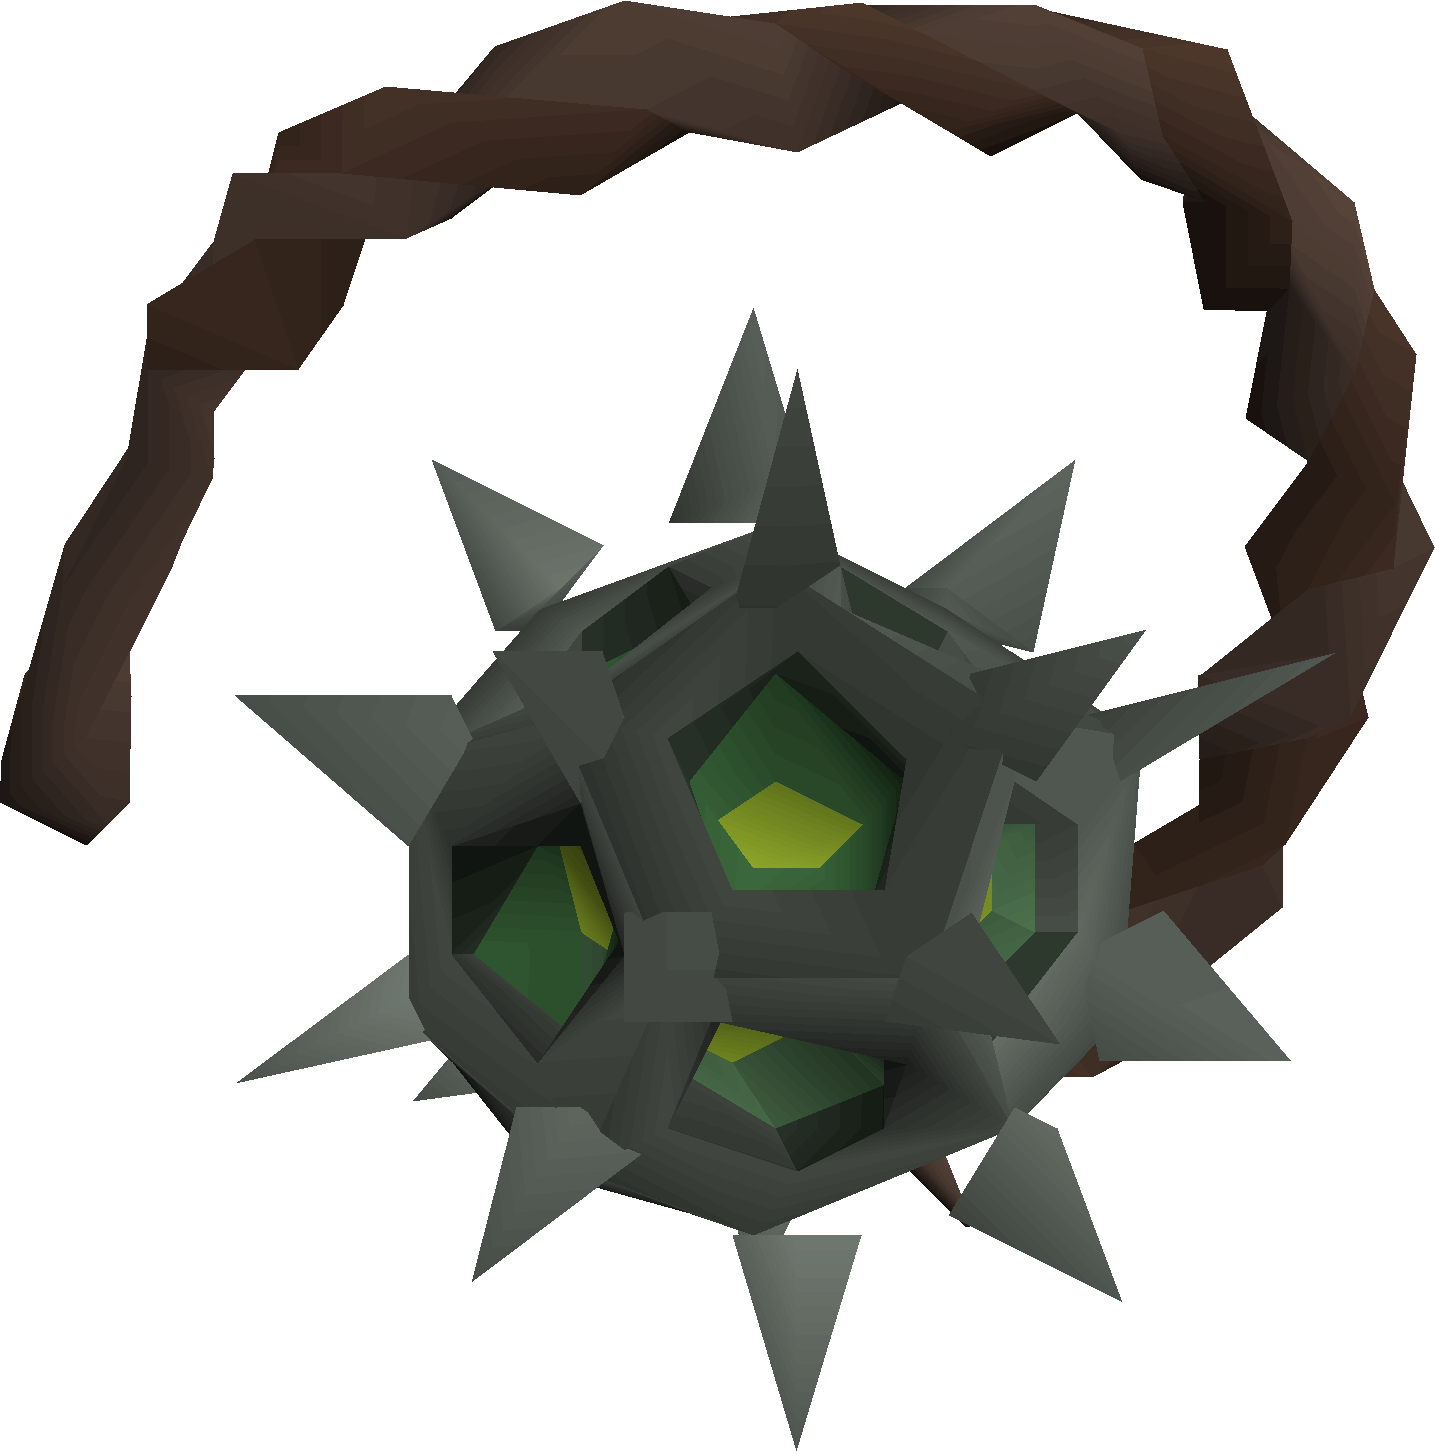
Obligator

Obligator

The raid crush weapon; its full normal attack has a 15% larger damage budget than the corrupted Scythe. Personal unique chance: 1/1000.

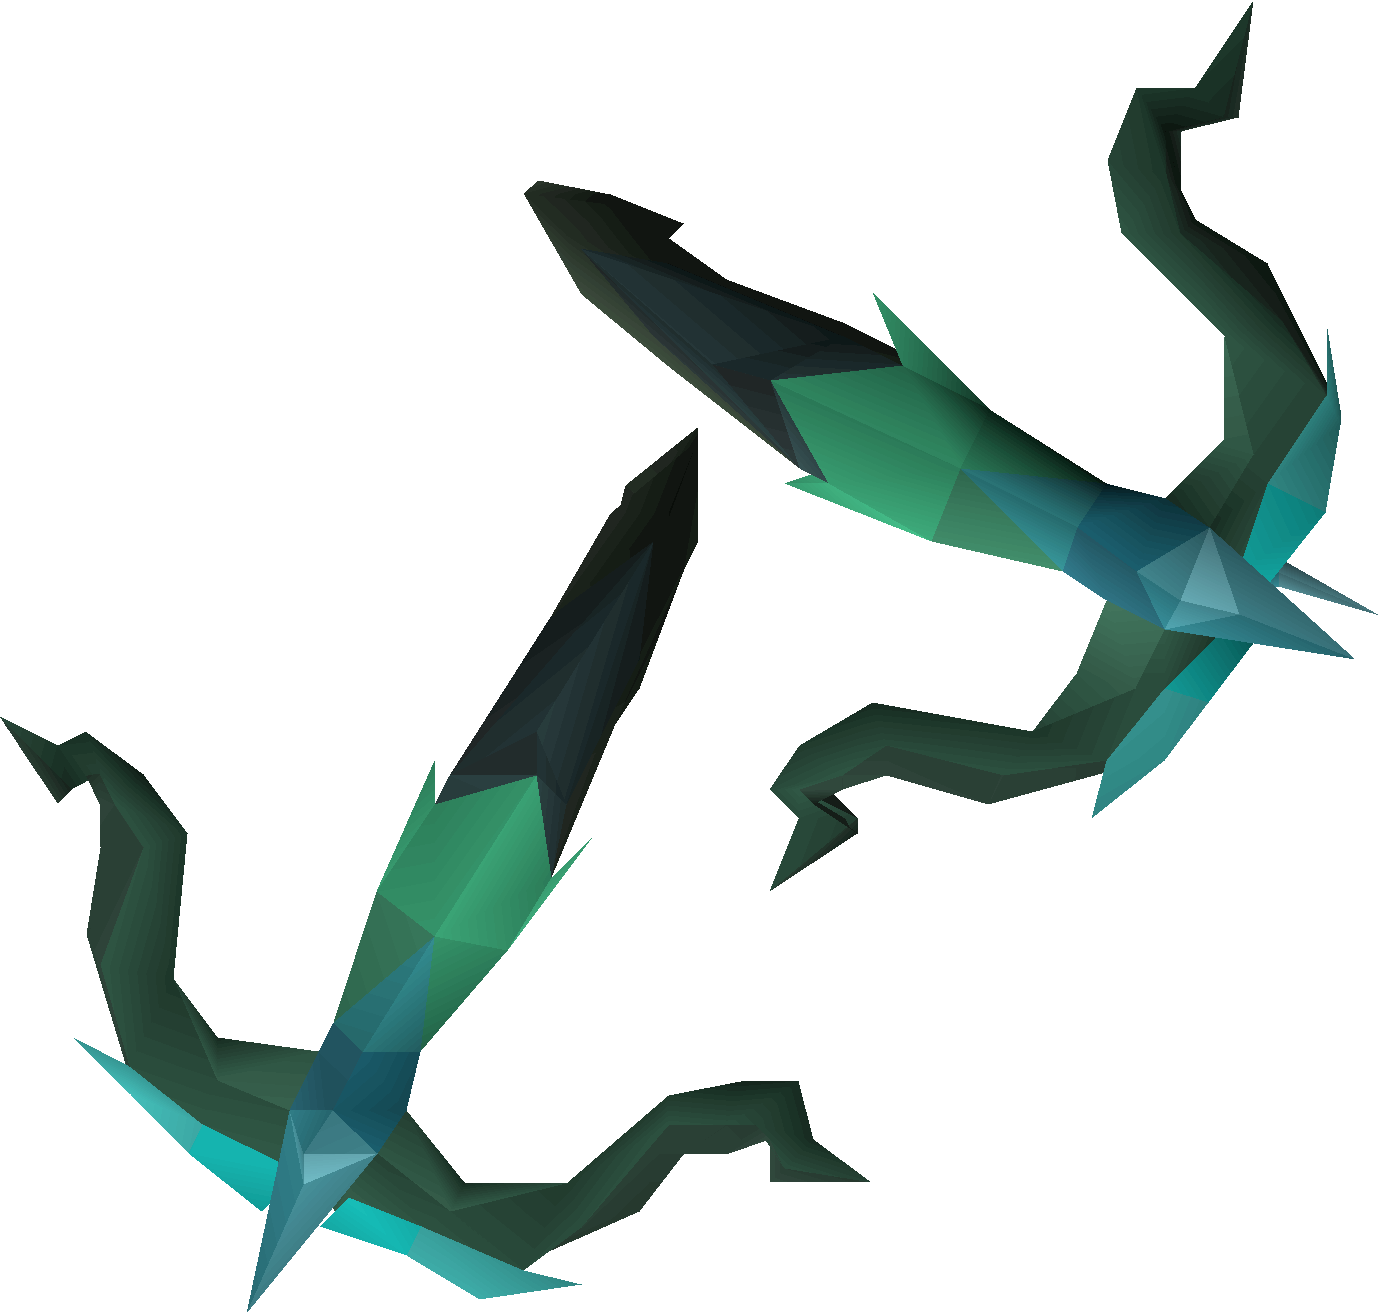
Ascension crossbows

Ascension crossbows

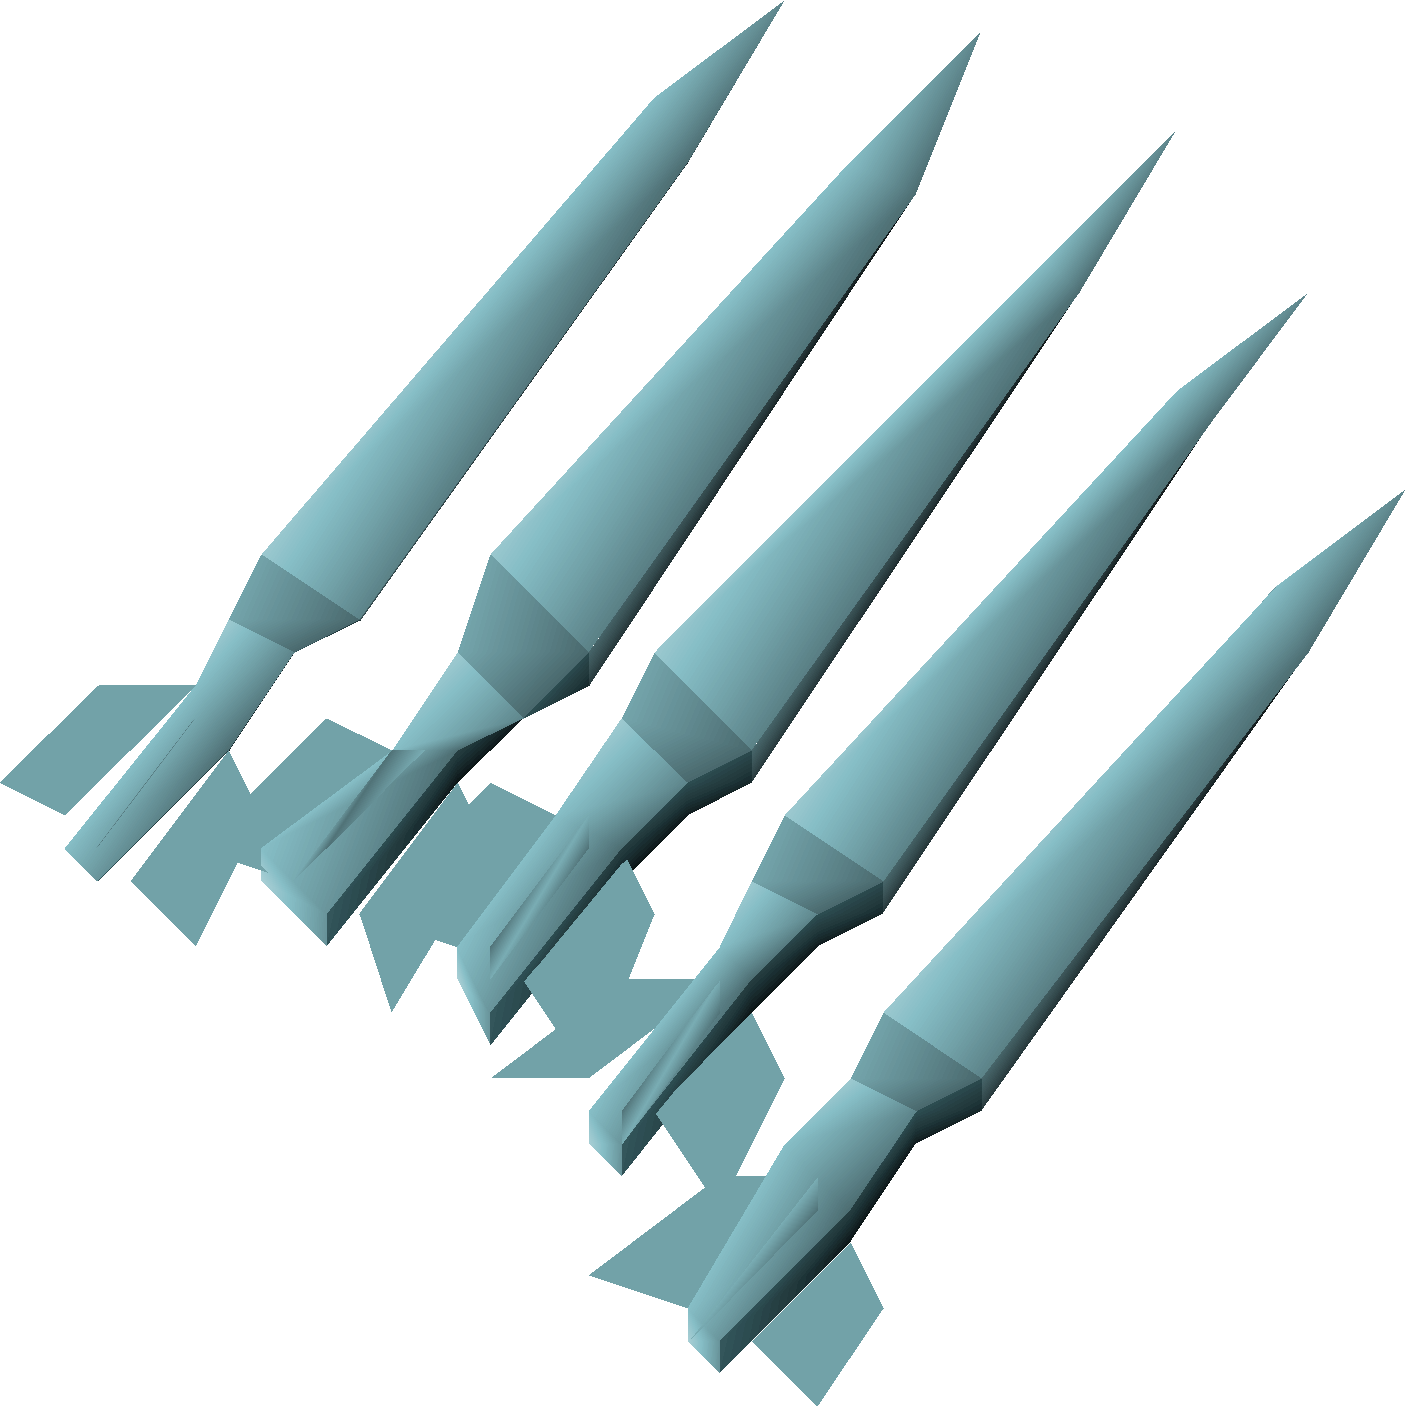
The raid ranged weapon, compatible with dragon javelins. Its damage budget is 25% above the corrupted Twisted bow under matching conditions. Personal unique chance: 1/1000.

Horn of Bran

Horn of Bran

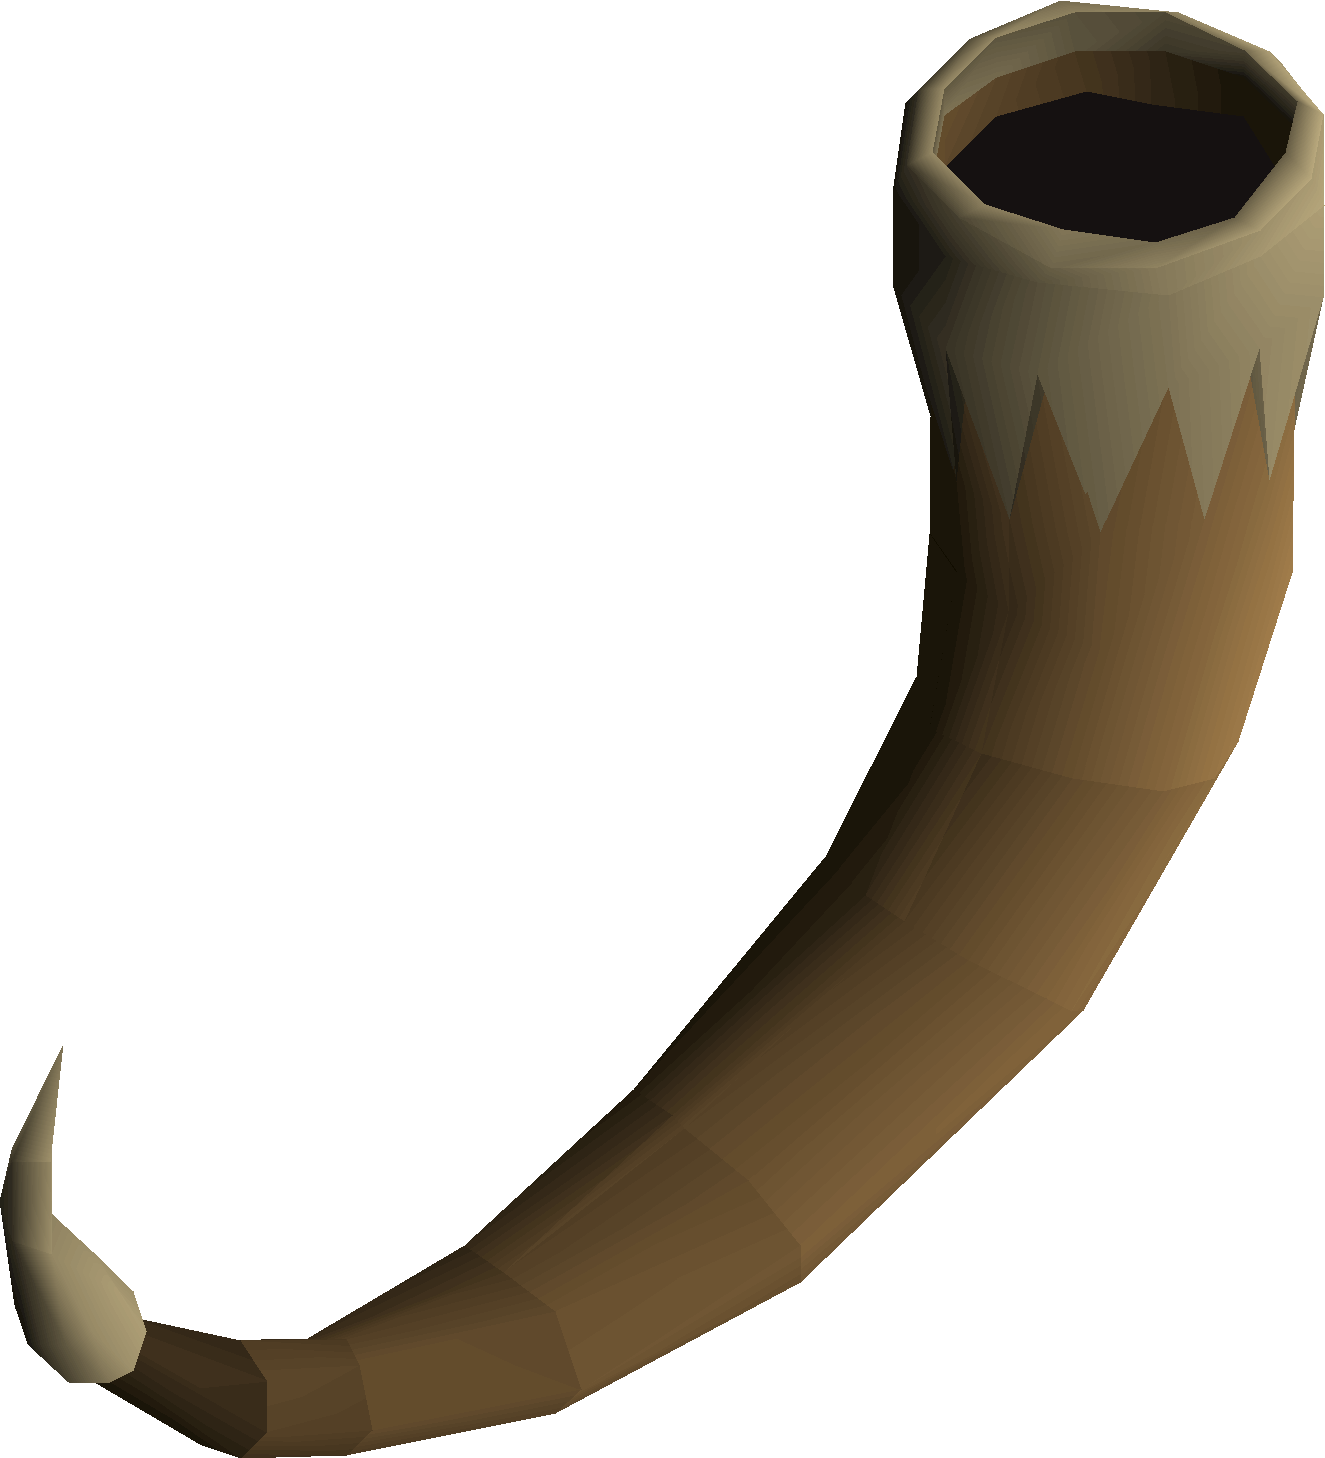
Consume once after confirmation to permanently unlock Zeal. Replaces Piety without stacking with it. Personal unique chance: 1/100.

Zorya's tome

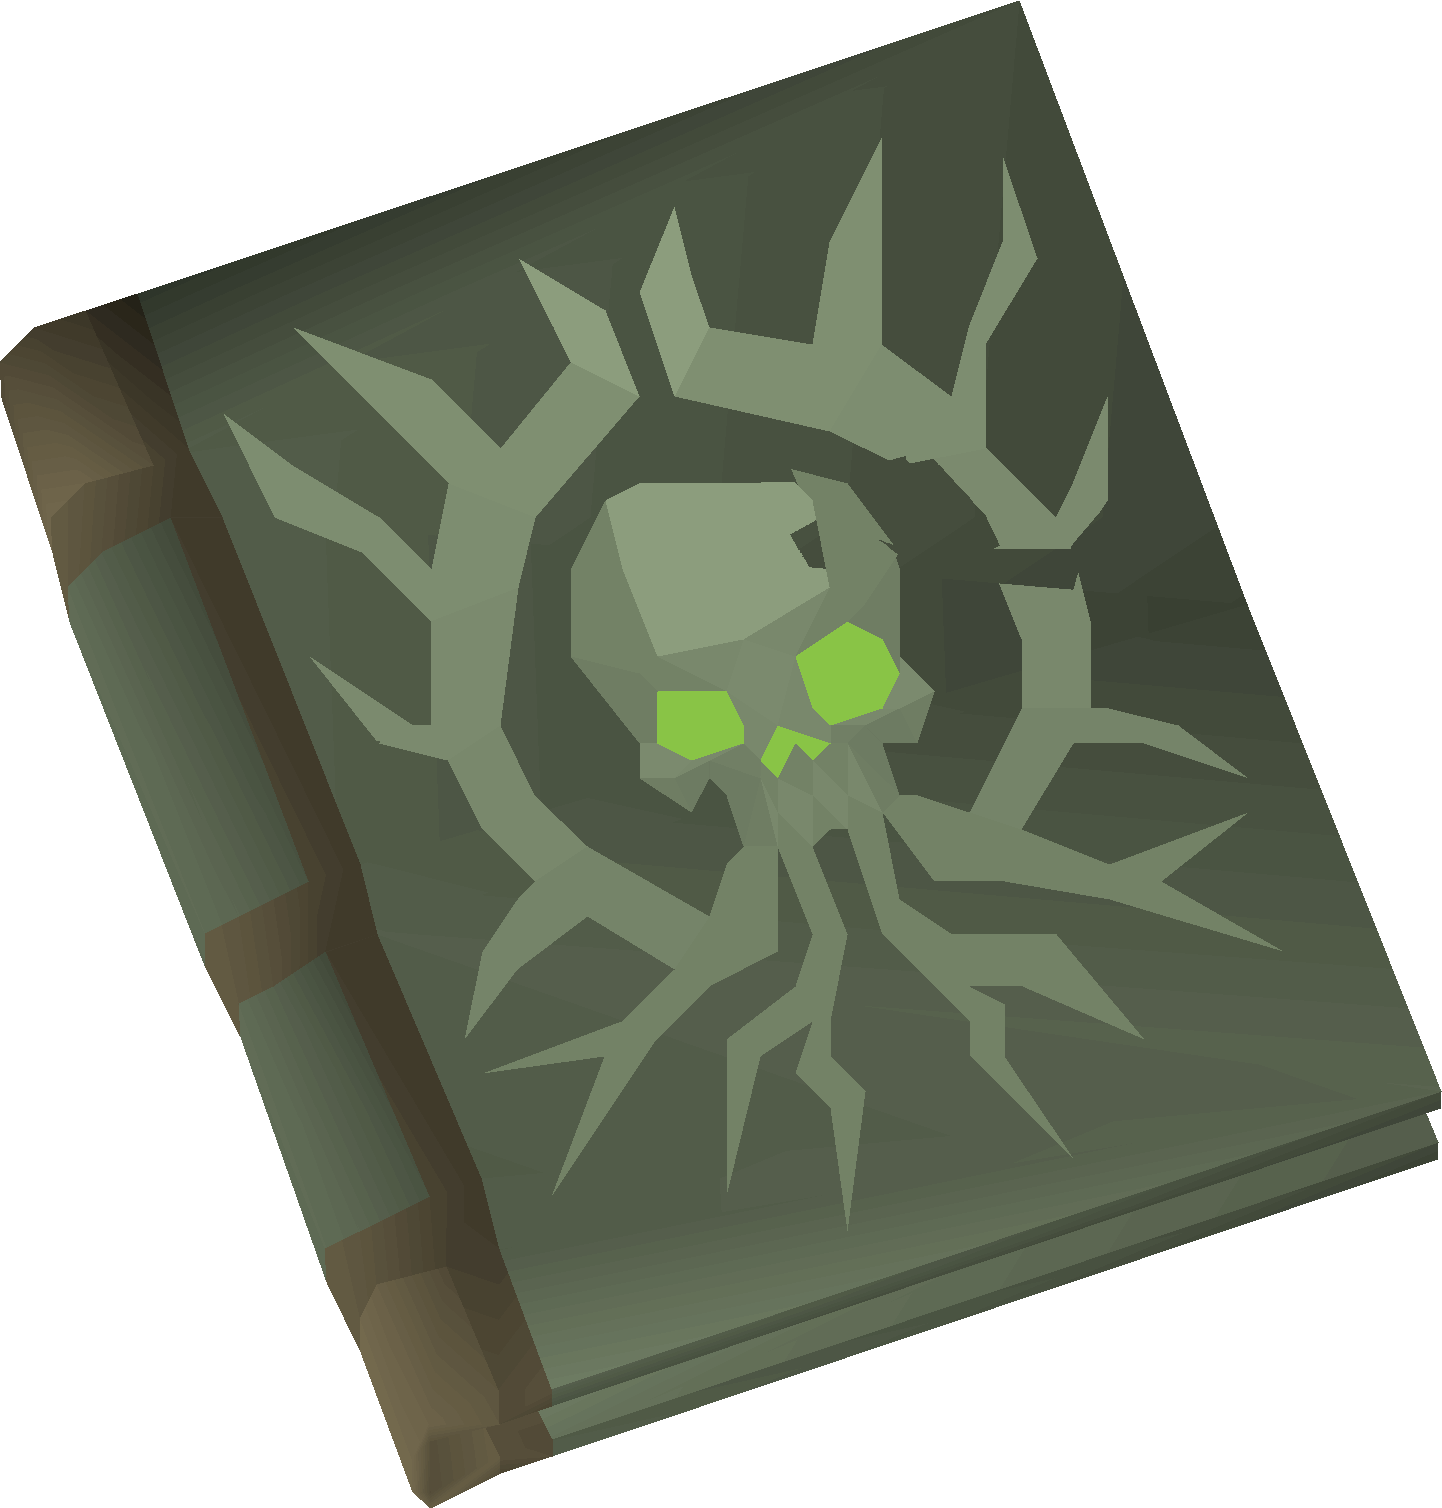
Zorya's tome

A charged magic weapon with damage between ordinary and corrupted shadow, and the corrupted shadow attack speed. Personal unique chance: 1/250.

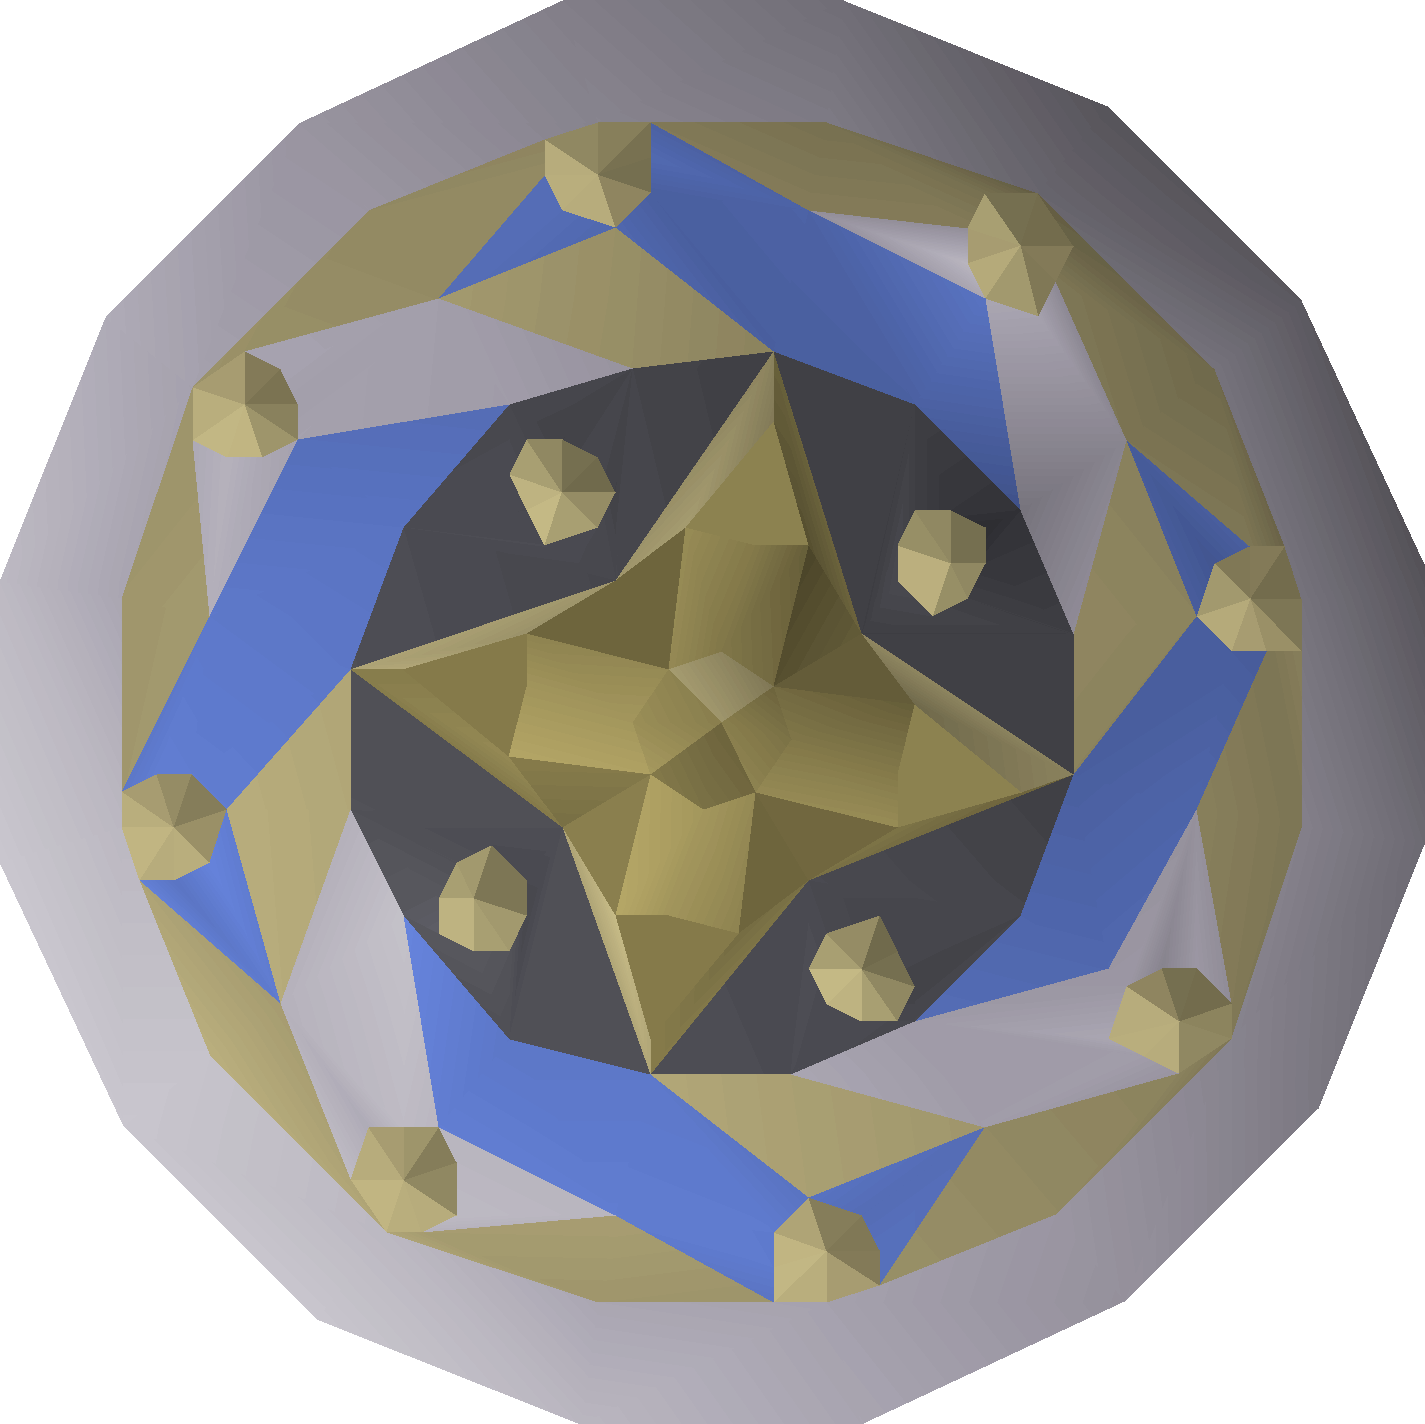
Rondache

Rondache

The shield automatically mitigates typed damage and stores charges. Shield Bash is currently unavailable. Personal unique chance: 1/250.

Personal rates per completed raid

  • Horn of Bran: 1/100
  • Ascension crossbows: 1/1000
  • Obligator (uncharged): 1/1000
  • Zorya's tome (uncharged): 1/250
  • Rondache: 1/250
  • Fragment of burning fire: 1/100
  • Fragment of deep water: 1/100
  • Fragment of living earth: 1/100
  • Fragment of whispering wind: 1/200
  • Orion (separate pet roll): 1/1000

Permanent fragments

  • Fire / red: consume one Fragment of burning fire to permanently gain +2% melee damage.
  • Water / blue: consume one Fragment of deep water to permanently gain +2% magic damage.
  • Earth / green: consume one Fragment of living earth to permanently gain +2% ranged damage.
  • Air / white: consume one Fragment of whispering wind to permanently gain +1% melee, magic and ranged damage.
  • Unlock each element once per account. Air adds to the matching +2% element, for +3% in each style when all four are unlocked. Reusing an unlocked fragment grants no further bonus and does not consume another item.
  • These permanent Slayora damage bonuses persist through logout. They replace this raid fragment system's former elemental spell upgrades.

Ascension crossbows

  • Ascension crossbows accept dragon javelins as well as their supported Ascension bolts. Bring ammunition; the normal ammunition costs still apply.
  • For the same equipment, ammunition, target and effects, their normal-attack damage budget is 25% above the corrupted Twisted bow. The comparison includes its target-Magic scaling; integer hit rounding still applies.

Rondache

  • Equip the Rondache in your shield slot. Its damage reduction works automatically. Shield Bash is currently unavailable.
  • The shield mitigates two points of typed incoming damage and stores the mitigated amount, up to 20 charges. Weapon special energy and shield charges are separate resources.
  • The ordinary special attack controls continue to use your weapon special attack.
Orion raid pet

Meet Orion, the raid pet

  • Orion has a separate personal 1/1000 chance per completed eligible raid and makes your chest purple. Team size does not divide your personal chance.
  • The chest gives a physical pet item with its rarity fixed when the raid result is secured. Reopening, recovering or relogging does not roll another pet or rarity.
  • Drop the pet item to let Orion follow you, then use Pick-up to return it to your inventory. It uses the same ownership and reclaim system as other pets.
  • Use Metamorph on your own active Orion to select its original forms or Bork, Xarth, Ezekiel, Dreadnoth the Jellied, Moia, Archive Guardian and Dagon'hai Elder. These are cosmetic follower forms of the same owned pet; morphing creates no new pet or reward.

Charging Obligator

  • Obligator is delivered uncharged. Use Charge, Check and Uncharge to manage its saved charges.
  • One Ascension shard, 20 nature runes and 20 death runes add 10 charges. The current Slayora capacity is 20,000 charges.
  • An ordinary attack uses one charge. The weapon becomes its empty form after the final charge; an empty weapon cannot be used to skip the charge cost.
  • Uncharge returns whole batches of materials. Any final one to nine charges stay on the weapon, so rounding does not discard paid charges.
  • Its complete normal-attack damage budget is 15% above the corrupted Scythe of Vitur on the same target. This compares the full attack, including every applicable Scythe hit, with integer rounding applied once to the total.

Using Zorya's tome

  • Zorya's tome requires 85 Magic and charges. Its normal-attack damage budget is 10% above the ordinary Tumeken's shadow, below the corrupted shadow's 20% boost under matching conditions.
  • Normal attacks follow the corrupted shadow attack speed, including applicable attack-speed perks. The ordinary speed is three ticks.
  • The special costs 50% energy and grants its existing accuracy, damage and follow-up effects. Keep enough charges for follow-up casts.
  • Use Charge, Check and Uncharge to manage its saved charges. The local recipe uses one blood rune per charge, with a 20,000-charge capacity.

Unlocking Zeal with the Horn of Bran

  • You need 84 Prayer, 75 Attack, 75 Strength and the existing 70 Defence/Piety requirements.
  • Use the Horn and confirm the permanent unlock. Exactly one Horn is consumed; an already unlocked account does not consume a second one.
  • Zeal gives +25% Attack, +28% Strength and +25% Defence, with the same drain as Piety. This offensive prayer does not protect you from boss attacks.

Rewards and their effects

Explore the raid's equipment, upgrades and unlocks. Open an item for its requirements, bonuses and effects.

Slayora personal chest rates are listed above. Major equipment, fragments and Orion use the exact rates shown on their cards. Other catalogue entries are not additional rolls in that chest.

21 rewards

ObligatorMelee megarare 1/1,000

Requires: 85 Attack

Slot: Two-handed

Crush accuracy
+120
Melee strength
+40
Prayer bonus
+3

Normal attack: Scythe-style multihits with one complete +15% damage budget.

Range: 1 tile

  • The complete normal multihit attack has a 15% larger total damage budget than the corrupted Scythe under matching conditions.
  • Charge, Check and Uncharge preserve a maximum of 20,000 charges. One Ascension shard, twenty nature runes and twenty death runes buy ten charges.

Charging: 1 Ascension shards + 20 Nature rune + 20 Death rune → 10 charges. Capacity: 20,000.

Tradeable: Only uncharged

Ascension crossbowsRanged weapon 1/1,000

Requires: 80 Ranged

Slot: Two-handed

Ranged accuracy
+34
Magic accuracy
+3

Attack speed: Rapid: 2 ticks (1.2s) / Accurate: 3 ticks (1.8s) / Longrange: 3 ticks (1.8s)

Range: 6 tiles base / 8 tiles longrange

Ammunition: Ascension bolts and gem-tipped variants; dragon javelins are supported.

  • Normal damage budget is 25% above the corrupted Twisted bow under matching conditions.
  • Supports the imported Ascension bolt variants and dragon javelins.

Tradeable: Yes

Zorya's tomeMagic weapon 1/250

Requires: 85 Magic

Slot: Two-handed

Magic accuracy
+45
Magic damage
+15%
Prayer bonus
+2
Normal damage
Normal Shadow +10%

Attack speed: 3 ticks (1.8s)

Range: 7 tiles

  • Normal damage is 10% above normal Shadow, at corrupted Shadow attack speed.
  • The special costs 50% energy. On a successful special, the following empowered attacks use the configured two-tick burst.
  • Charge with blood runes up to 20,000 charges. See the complete tome guide above for Check and Uncharge.

Charging: 1 blood rune per charge. Capacity: 20,000.

Tradeable: Only uncharged

RondacheShield 1/250

Requires: 80 Defence

Slot: Shield

Melee strength
+8
Flat armour
+2
Magic resistance
+2
Stab defence
+35
Slash defence
+41
Crush defence
+38
Magic defence
-6
Ranged defence
+55
Magic accuracy
-5
Ranged accuracy
-8
  • Automatically reduces eligible typed incoming damage by two points and stores up to twenty charges.
  • The manual Shield Bash action is unavailable; the automatic mitigation works without activating a special.

Tradeable: Yes

Horn of BranPrayer unlock 1/100
  • Consume once after confirmation to permanently unlock Zeal, replacing Piety without stacking.
  • Requires 84 Prayer, 75 Attack and 75 Strength, together with the existing Piety requirements.

Tradeable: Yes

ZealPrayer Horn unlock

Requires: 84 Prayer / 75 Attack / 75 Strength

Attack bonus
+25%
Strength bonus
+28%
Defence bonus
+25%
Prayer drain / minute
40
  • Permanent Horn of Bran unlock: +25% Attack, +28% Strength and +25% Defence, with the same drain as Piety.
  • Requires 84 Prayer, 75 Attack and 75 Strength plus the existing Piety requirements. This offensive prayer does not protect against boss attacks.
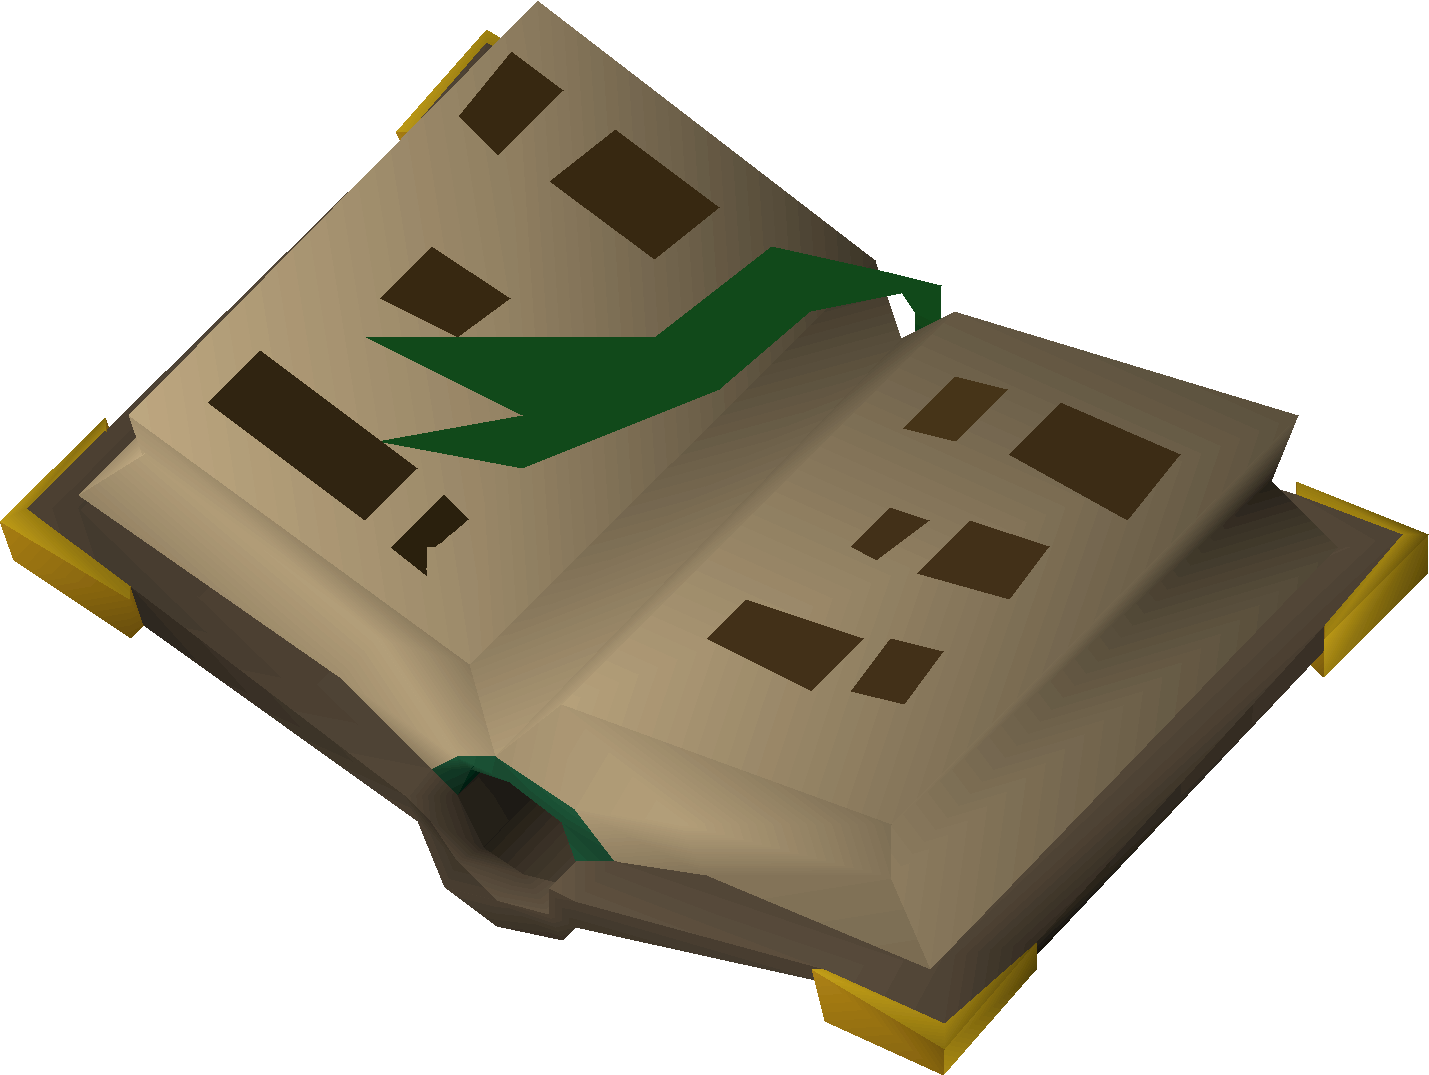
Archivist's folioTeleport 1/3 · separate folio roll
  • An additional personal 1/3 roll alongside the three normal loot rolls. Folios do not make the chest purple.

Tradeable: No

OrionPet 1/1,000 · separate pet roll
  • Separate personal 1/1000 chance, including alongside another unique. The pet makes the chest purple and its rarity is frozen when the result is secured.
  • Owned Orion can use its original forms plus Bork, Xarth, Ezekiel, Dreadnoth, Moia, Archive Guardian and Dagon'hai Elder. The selected appearance is saved.

Tradeable: No

Ascension shardsResource Normal loot
  • Craft ascension bolts, charge the Obligator, or charge the archivist's folio.

Tradeable: Yes

Ascension boltsAmmunition Catalogue reference

Requires: 86 Fletching to create

Ranged strength
+53
  • One ascension shard and a chisel produce ten bolts. Compatible with ascension crossbows.

Tradeable: Yes

Diamond ascension bolts (e)Enchanted ammunition Catalogue reference

Requires: 57 Magic to enchant

Ranged strength
+58
  • Enchanted diamond ammunition for ascension crossbows with an armour-piercing effect.

Tradeable: Yes

Onyx ascension bolts (e)Enchanted ammunition Catalogue reference

Requires: 87 Magic to enchant

Ranged strength
+58
  • Enchanted onyx ammunition for ascension crossbows with a life-leech effect.

Tradeable: Yes

Fragment of whispering windPermanent elemental upgrade 1/200

Element: Air

  • Consume once per element and account to permanently unlock +1% to melee, ranged and magic.
  • Total fragment bonuses are capped at +3% per combat style.

Tradeable: No

Fragment of deep waterPermanent elemental upgrade 1/100

Element: Water

  • Consume once per element and account to permanently unlock +2% magic.
  • Total fragment bonuses are capped at +3% per combat style.

Tradeable: No

Fragment of living earthPermanent elemental upgrade 1/100

Element: Earth

  • Consume once per element and account to permanently unlock +2% ranged.
  • Total fragment bonuses are capped at +3% per combat style.

Tradeable: No

Fragment of burning firePermanent elemental upgrade 1/100

Element: Fire

  • Consume once per element and account to permanently unlock +2% melee.
  • Total fragment bonuses are capped at +3% per combat style.

Tradeable: No

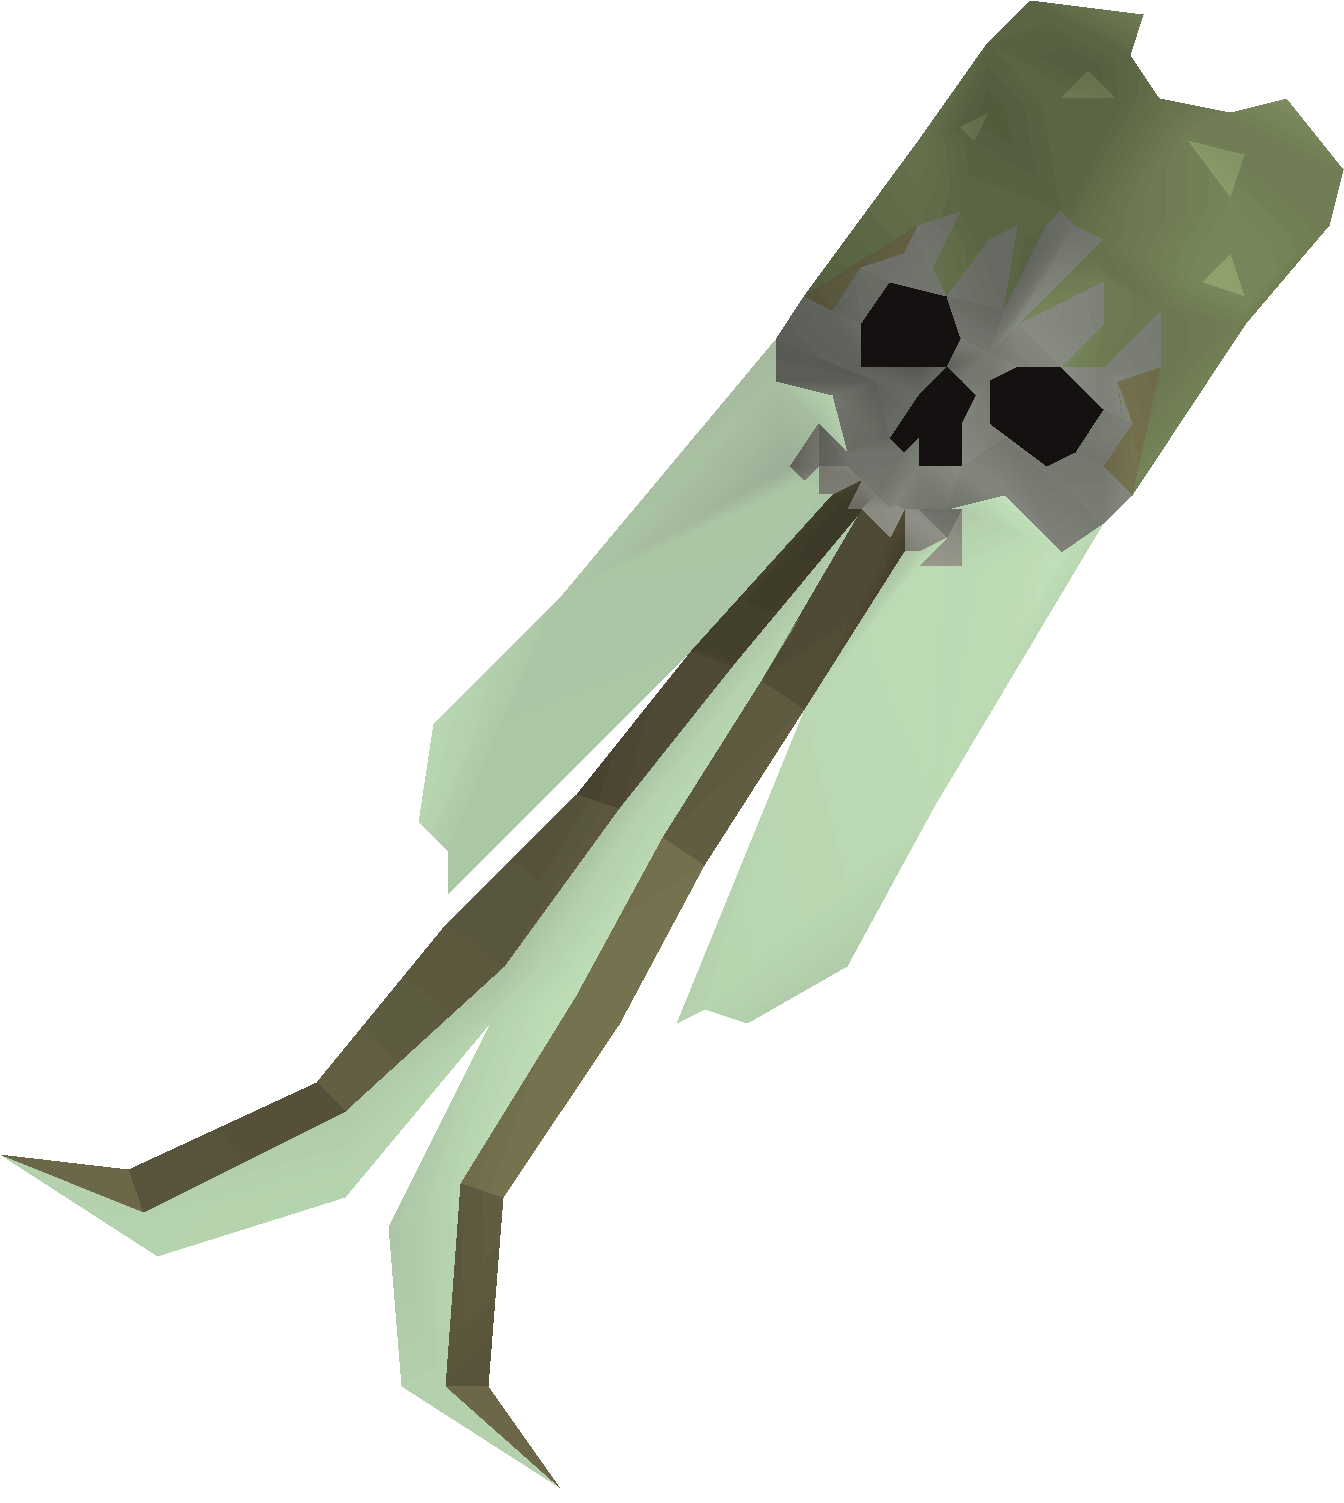
Living record (tier 1)Milestone cosmetic Catalogue reference

Requires: 100 raid completions

  • Cosmetic cape with no combat bonuses. Its appearance can change to other unlocked tiers.

Engraving: Scrivener

Tradeable: No

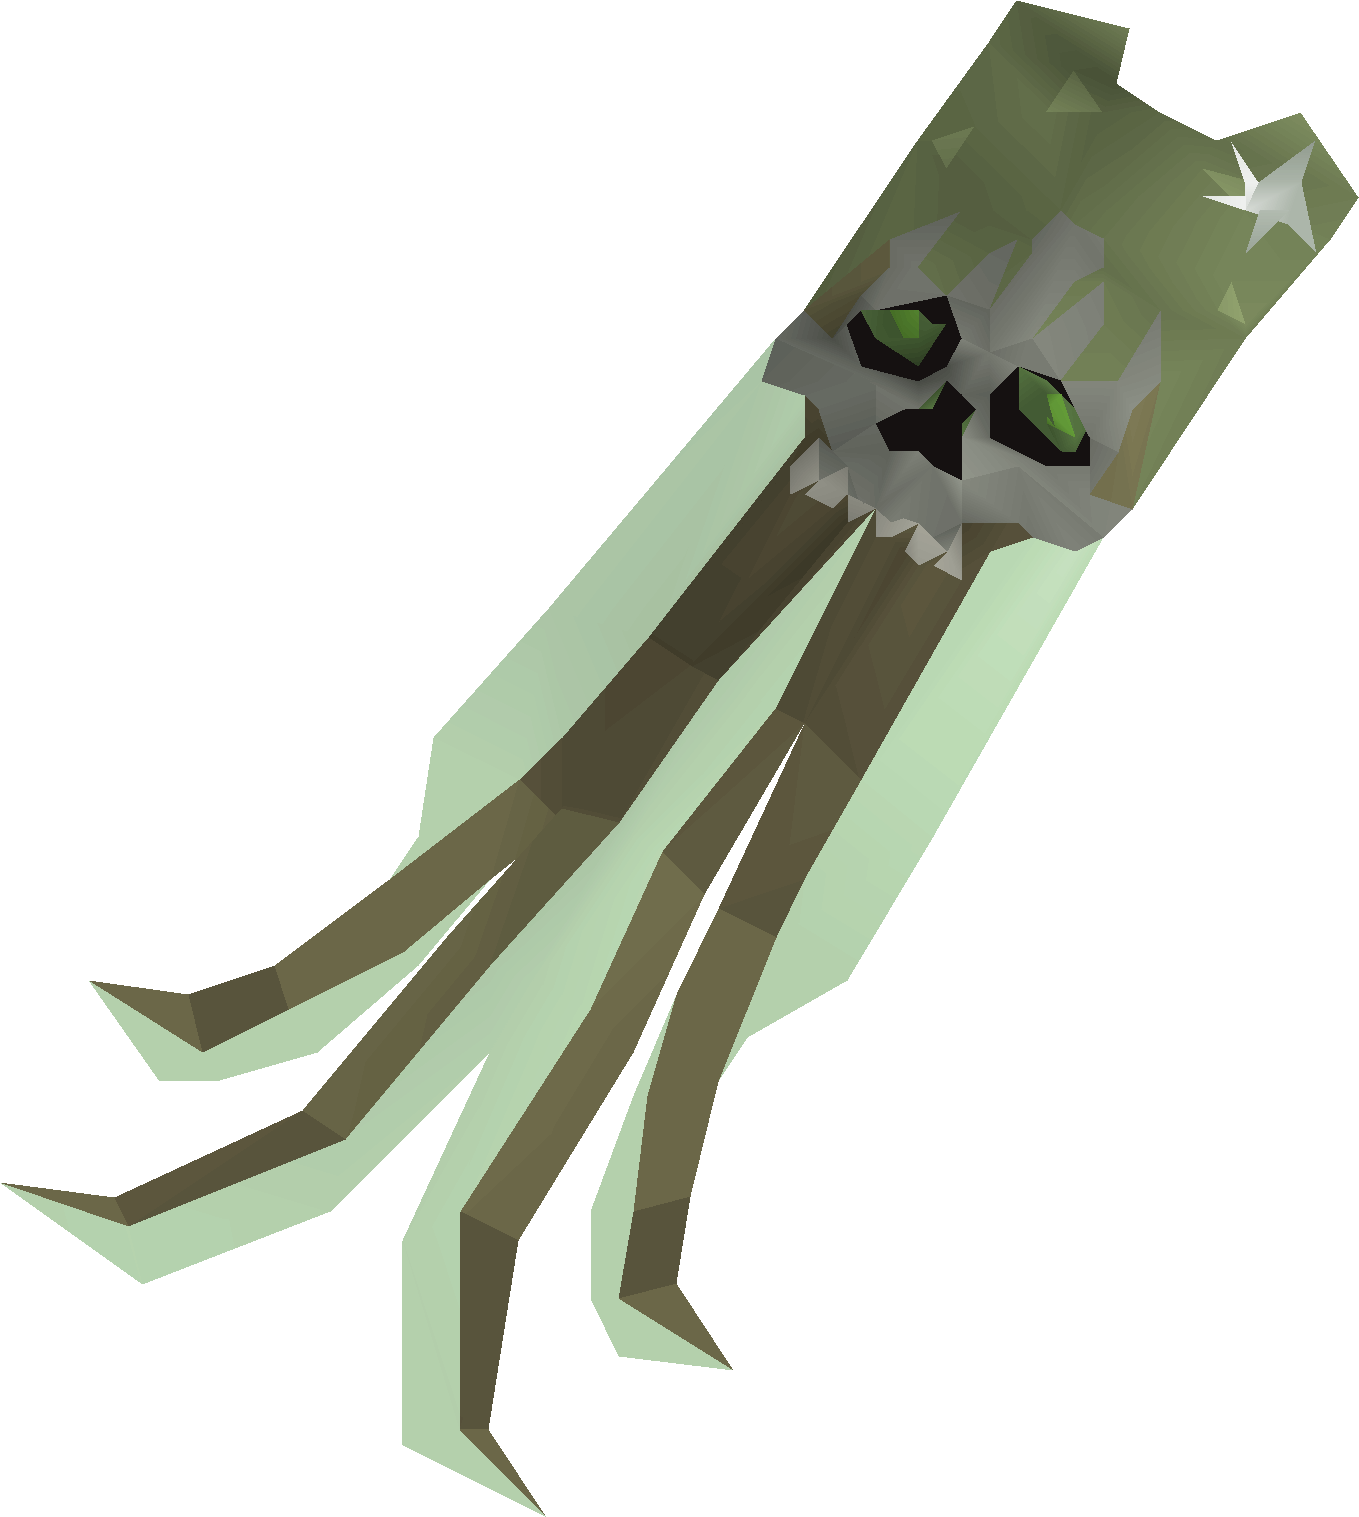
Living record (tier 2)Milestone cosmetic Catalogue reference

Requires: 500 raid completions

  • Cosmetic cape with no combat bonuses. Its appearance can change to other unlocked tiers.

Engraving: Salvager

Tradeable: No

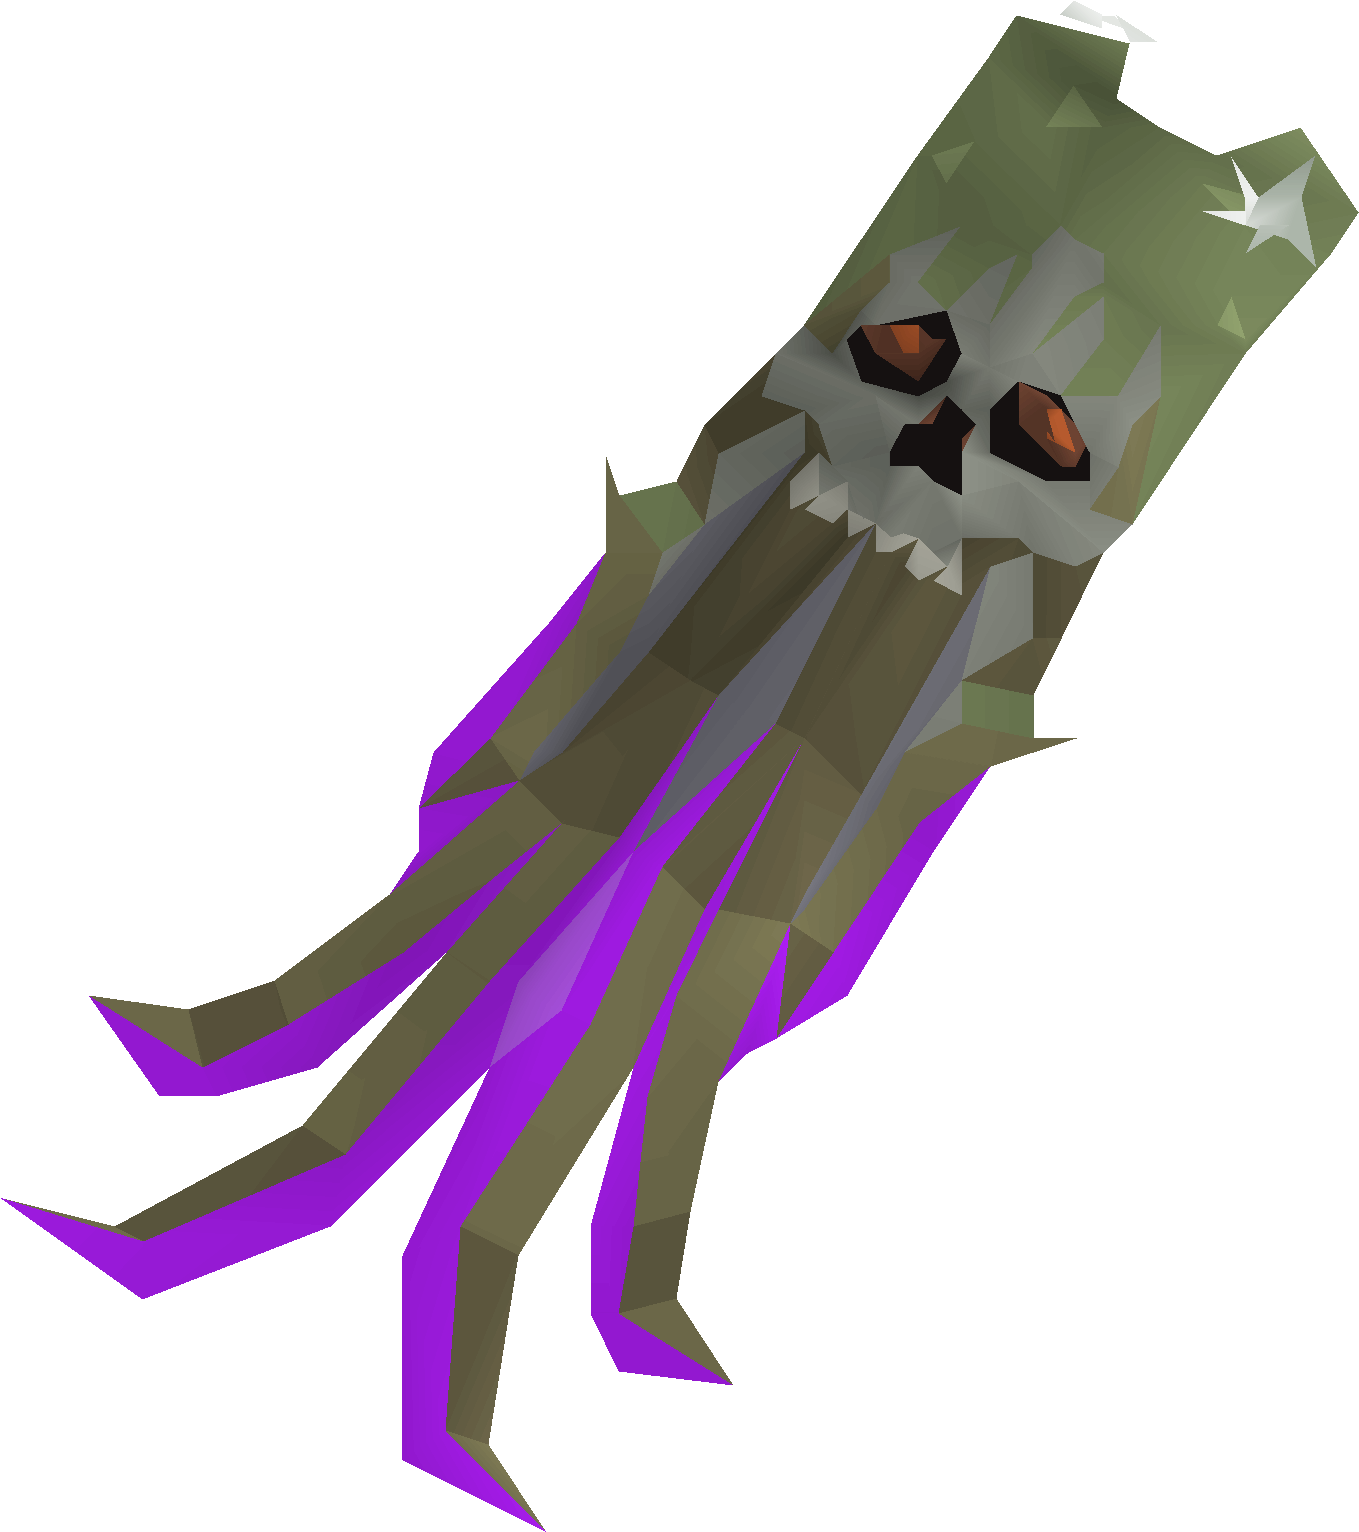
Living record (tier 3)Milestone cosmetic Catalogue reference

Requires: 1,000 raid completions

  • Cosmetic cape with no combat bonuses. Its appearance can change to other unlocked tiers.

Engraving: Prospector

Tradeable: No

Living record (tier 4)Milestone cosmetic Catalogue reference

Requires: 1,500 raid completions

  • Cosmetic cape with no combat bonuses. Its appearance can change to other unlocked tiers.

Engraving: Reliquist

Tradeable: No

Living record (tier 5)Milestone cosmetic Catalogue reference

Requires: 2,000 raid completions

  • Cosmetic cape with no combat bonuses. Its appearance can change to other unlocked tiers.

Engraving: Antisqüien

Tradeable: No

Game artwork © Jagex Ltd.